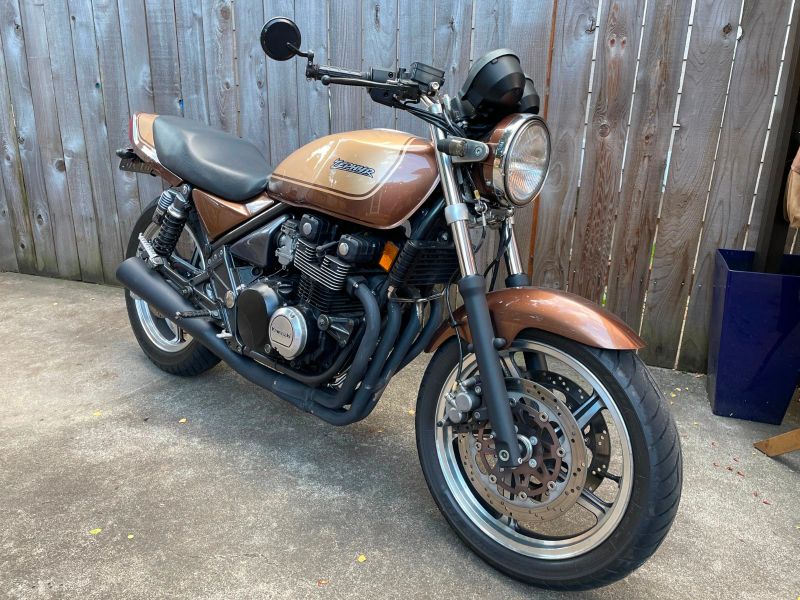
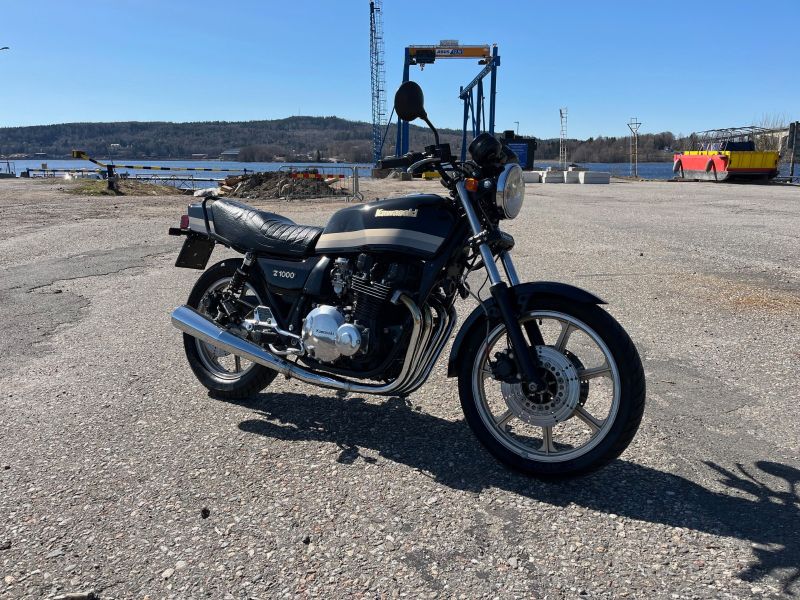
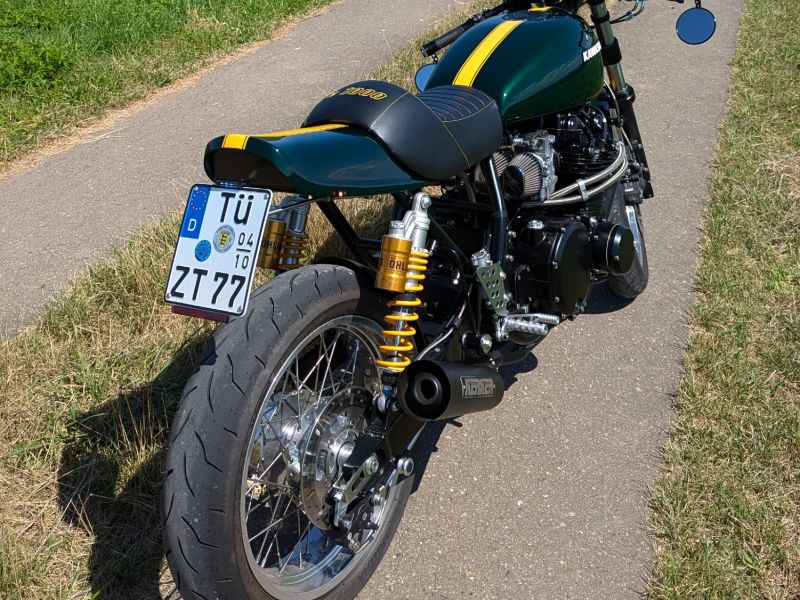
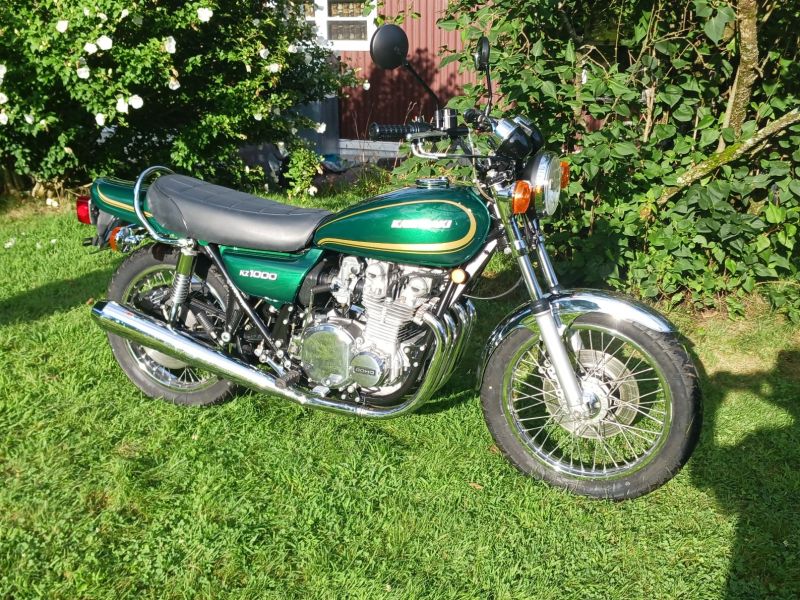
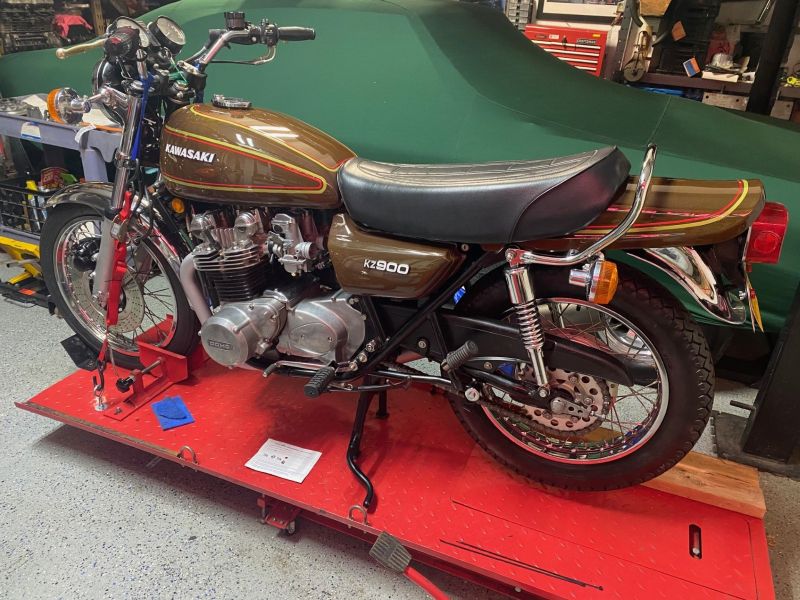
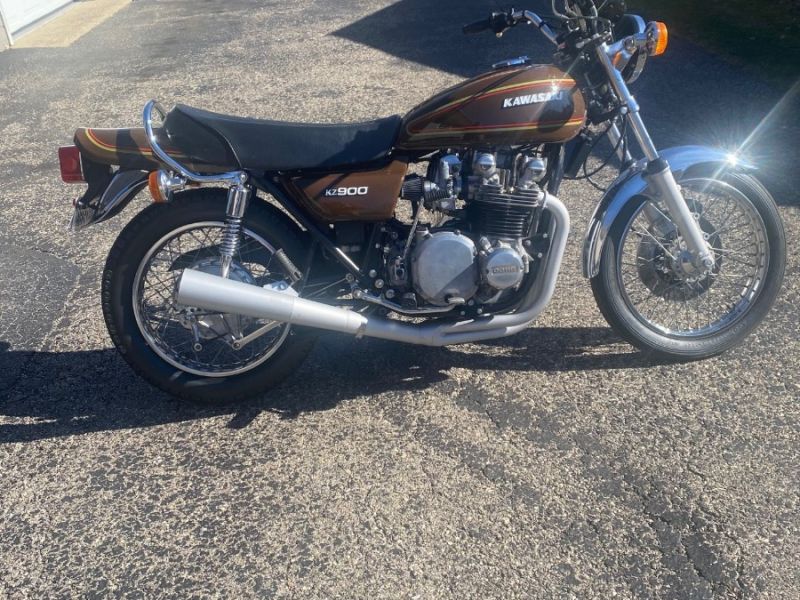
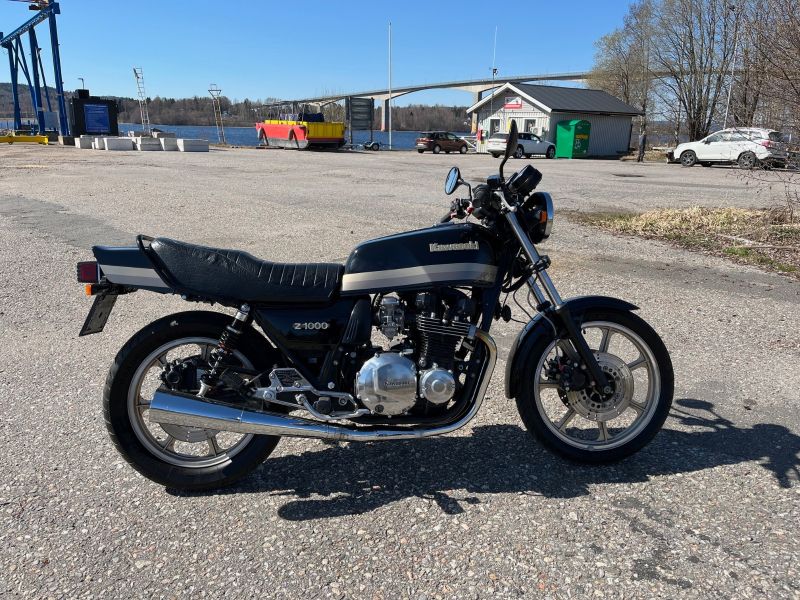
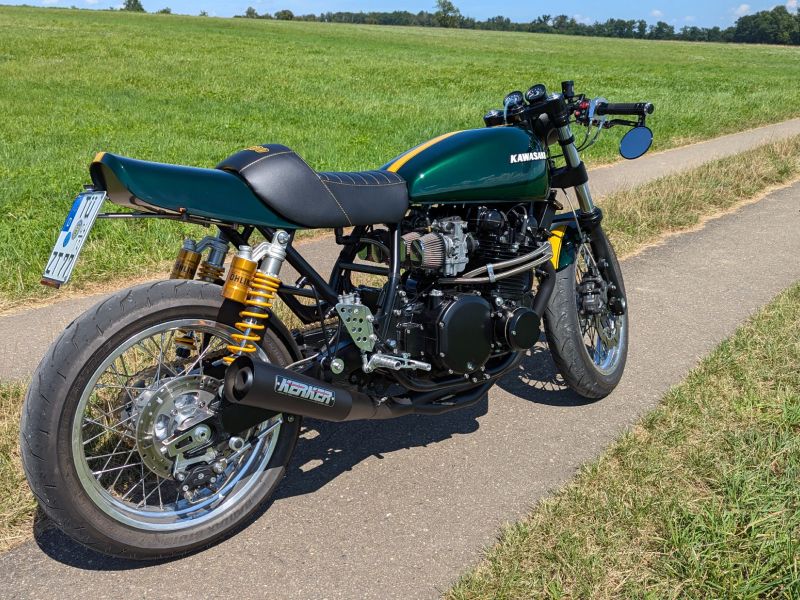
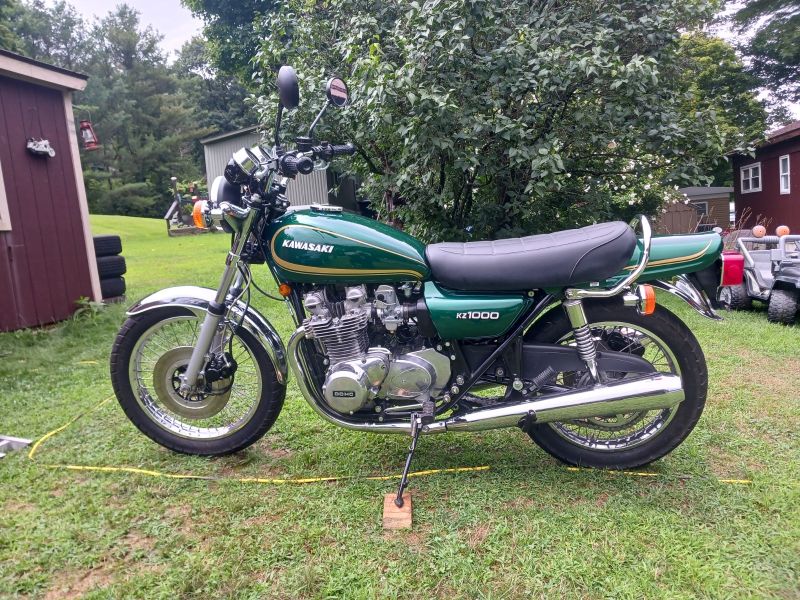
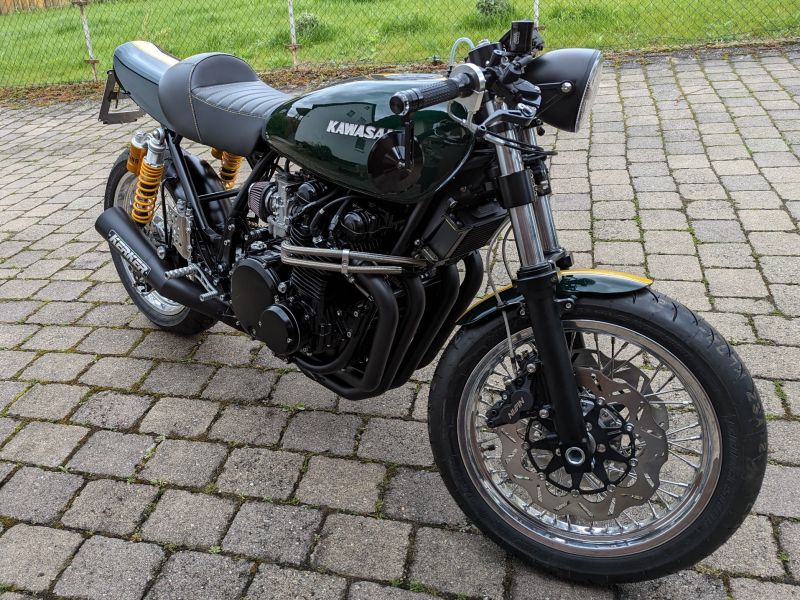
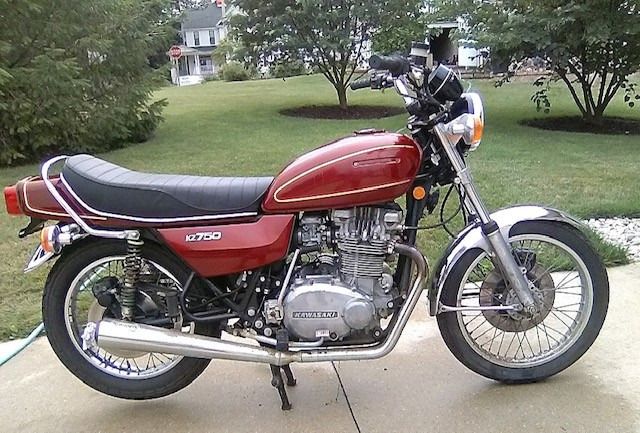
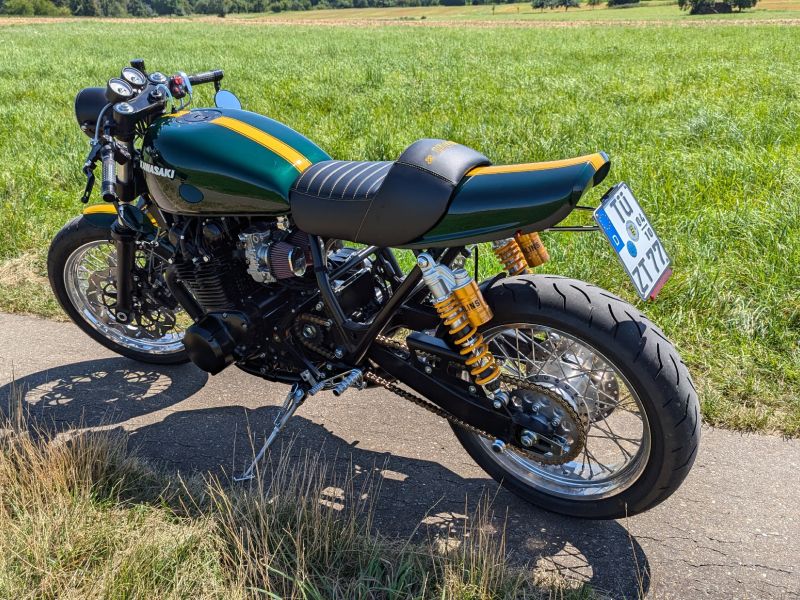
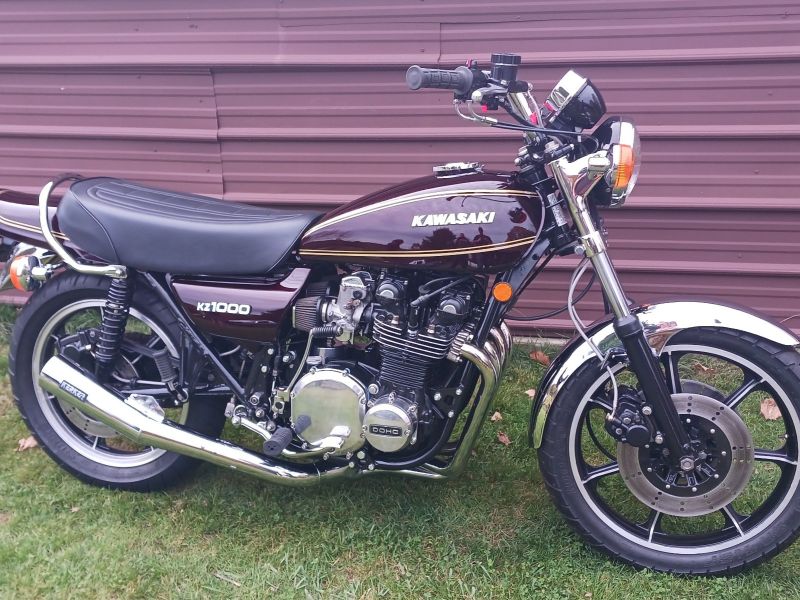
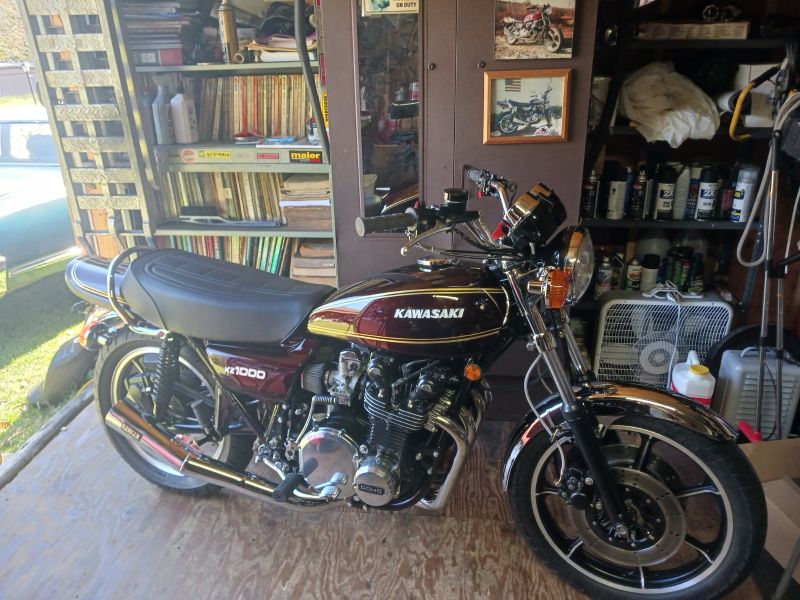
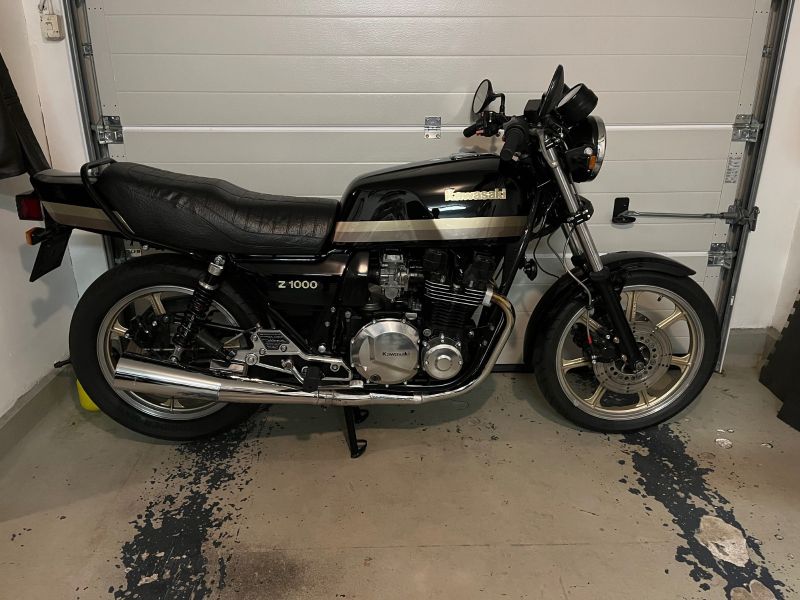
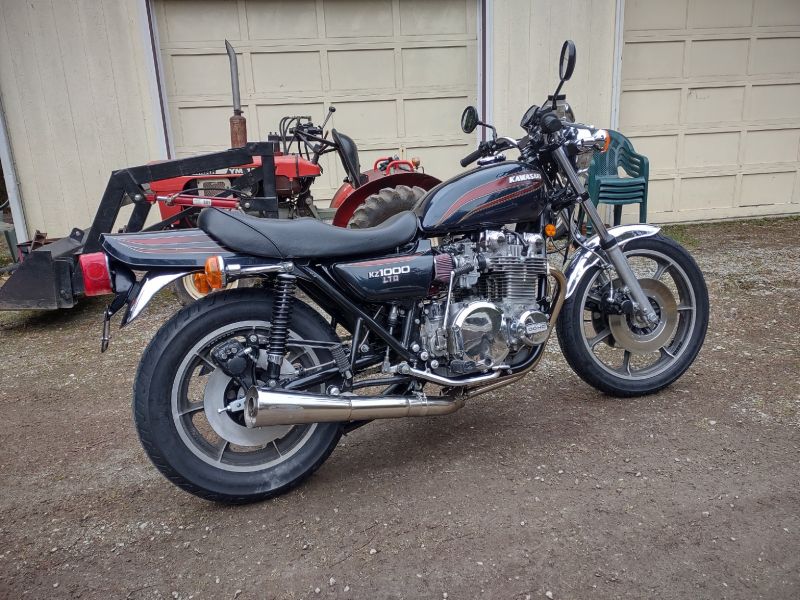
KZR's Bikes of the Month for 2024

How to reset valve lash

More
09 Oct 2005 19:12 #135 by philcsand
How to reset valve lash was created by philcsand
Today, I’ll be providing information on changing your valve clearance for under-bucket shim equipped engines like the 550 through the 750’s. (The same idea can be used for on-bucket setups, but a few steps aren’t needed.) This is the method I used on my bike, and came up with really good results.

Tools needed:
• HAND Impact driver and assorted bits
• Wrenches / Ratchets
• Torque wrench
• Suction cup about ¾ of an inch in diameter.
• Digital calipers (Can be bought from any auto supply store for about $20)
• Gasket scraper
• Exact-o knife
• Hole punch
• Pencil
• Red fingernail polish
• Diagram from below (thanks to murphyau for posting it)
Consumables:
• Sheet of paper gasket material
• New shims
• Gasket in a tube.

Procedure:
1. Remove: Gas tank, Coils, Fresh air system.
2. If you have an automatic cam-chain tensioner, make sure it is locked before continuing.
3. Using the impact driver when possible, and a correctly sized screw driver attachment on your ratchet, remove all of the screws holding the cam cover in place.
4. Pull off the cam cover, and pull the reed valves and covers off of the top, and set them aside.
5. Take the points cover off, and using a 17mm ratchet rotate the engine in the direction of normal rotation until the first cam lobe is pointed exactly away from the cam bucket. Measure the gap. If it falls outside of the .08 to .18 mm, write down the gap you measured (90% chance the gap will be smaller), and continue for all of the cams. If there is no gap, we’ll cover what to do in a few lines.
6. Using the fingernail polish, paint a small line from the cam gear to the chain, make sure none gets on a rivet in the chain, and that it is clear. This is going to be your reference mark. Do this to both cam gears.
7. Take the cam holders off of one of the cam shafts. Once they are off, ‘roll’ the camshaft toward the other. Keep it engaged on the chain and the chain taught. (If you don’t you can be in for one hell of a ride, and not a good one.)
8. Using the suction cup, pull the buckets out, one at a time. Use the digital caliper to measure the thickness of the shim. (It may be printed on the shim.) Use the thickness of the shim, and the gap you measured to find out what shim you need to buy. If there is no clearance, buy a shim about .2 to .25mm thinner than what is in the engine right now. Roll the first camshaft back into its cradle, and repeat the process with the other camshaft.
9. Go to your kaw dealer, or other bike dealer, and BRING YOUR CALIPERS and old shims! Buy the correct thickness shims to finish the job, and before paying, use the calipers to make sure that you are buying the right thickness. (Dealer may have jumbled the shims up a bit, and this will save you a trip back) Also, see if they will give you a discount if you give them you old shims.
10. Go back home, and put all the shims into the holders. Put the buckets back on, and as long as the cam gears have not been disengaged from the cam chain, the cams should still be in perfect timing. Make sure the dots of nail polish still line up. CAREFULLY reinstall the camshaft holders, making sure they go in the right place (They are numbered), and in the right direction.(The arrow points forward). DON’T STRIP THE SCREWS! Torque them to the specs in your service manual.
11. After both cam shafts are installed, retest the valve clearances to make sure they are all within specs. Pay special attention to any cam that had no clearance. If the clearance is not correct, repeat the relevant steps, and smack yourself for doing something wrong. (Hey, I’m just telling you all how I did it.)
12. Scrape the gasket off of both the cam cover, and the engine, making sure that you don’t gouge the aluminum, and don’t let anything fall into the engine. DON’T use a razor scraper. (I had a blade break, and almost make it down into the engine. Damn near had a heart attack.)
13. Using the cam cover as a guide, trace its outline onto the gasket paper, and cut it out. I found that scissors allow less room for screwing it up. Next, apply a small amount of oil to the cover, and press it onto the gasket. This will give you the position of all of the bolt holes, and the thickness the gasket should be. Use the hole punch to make the bolt holes. Finish cutting out the gasket.
14. Pop out the cam plugs, and clean them off with a degreaser. Make sure you get all of the cleaner off, and the coat the curved side of the plug with a thin coating of the gasket-in-a-tube stuff.
15. Reinstall the cam cover, and assorted other goodies you took off. Start up the bike, and listen for any cam chatter. You shouldn’t hear any.
16. Take your bike for a spin. You deserve the wind-down after all of that work.

Please Log in or Create an account to join the conversation.

More
09 Oct 2005 19:15 #141 by philcsand
Replied by philcsand on topic How to reset valve lash

Please Log in or Create an account to join the conversation.

More
09 Oct 2005 20:43 #223 by Bud1
Replied by Bud1 on topic How to reset valve lash
WOW! Thank you so much! I am definately going to be using this info in the near future. :woohoo:

Please Log in or Create an account to join the conversation.

More
10 Oct 2005 07:13 #328 by kzrider
Replied by kzrider on topic How to reset valve lash
Phil,could you send me this as an article to post in the articles section?

1976 Z750 B1
1980 Z1000 MkII A4

Please Log in or Create an account to join the conversation.

More
10 Oct 2005 13:22 #427 by fergyfer
Replied by fergyfer on topic How to reset valve lash
Man, that's timely! I appreciate your post and the chart. As soon as I can find some shims, I'm going to do this. My local Kaw shop doesn't have any shims for the 550. Guess I'm going to have to order them. I have a couple of zero tolerance valves so I'm going to have to order some extra various sized shims to take a stab at the zero's I guess.
Anyway, thanks for the valuable info!

Please Log in or Create an account to join the conversation.

More
11 Oct 2005 08:05 #665 by wiredgeorge
Replied by wiredgeorge on topic How to reset valve lash
Phil, One thing that you might want to consider is that when reinstalling the cams, to install the Exhaust cam first to pull slack out of the cam chain THEN install the intake cam. Most kinked cam chains I have heard about were caused by installation of the intake cam first then trying to pull the chain taut with the exhaust cam. Great write up. Why not put this info in the FILEBASE as well.

wiredgeorge Motorcycle Carburetors
Mico TX
www.wgcarbs.com
Too many bikes to list!

Please Log in or Create an account to join the conversation.

More
11 Oct 2005 08:43 #685 by fergyfer
Replied by fergyfer on topic How to reset valve lash
If I read this correctly, isn't he taking only one of the camshaft holders off at a time, shimming and putting it back on to measure etc.???

Please Log in or Create an account to join the conversation.

More
11 Oct 2005 08:56 #692 by wiredgeorge
Replied by wiredgeorge on topic How to reset valve lash
He was referring to 900/1000 models with shim over bucket but the info I noted applies to 550/650/750 models where they have shim under bucket and the cams need to be removed. Since he didn't say which type he was referring to, the info I posted made the info generic where it would apply to either.

wiredgeorge Motorcycle Carburetors
Mico TX
www.wgcarbs.com
Too many bikes to list!

Please Log in or Create an account to join the conversation.

Powered by Kunena Forum

If you like KZR Please consider making a donation. Thank you.

KZRider is free, but not without cost.

Please consider chipping in a few bucks to help cover the cost of running the KZR servers.