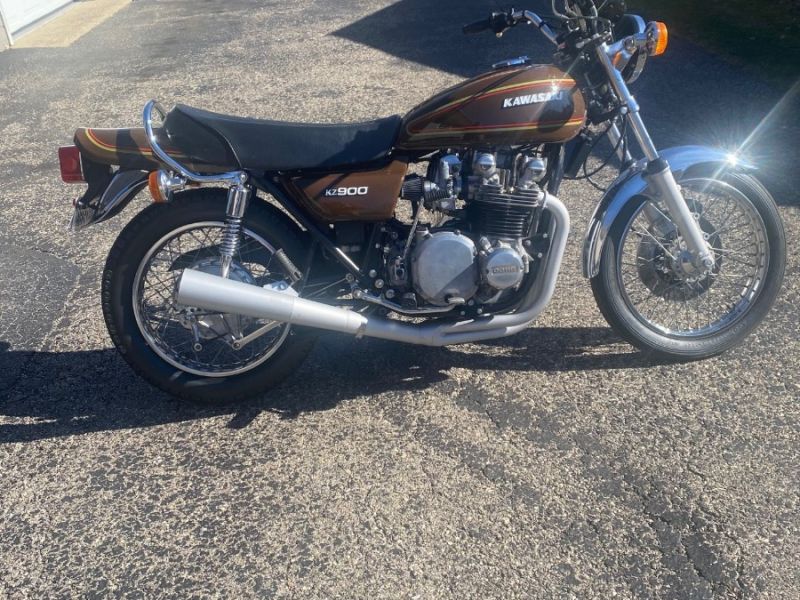
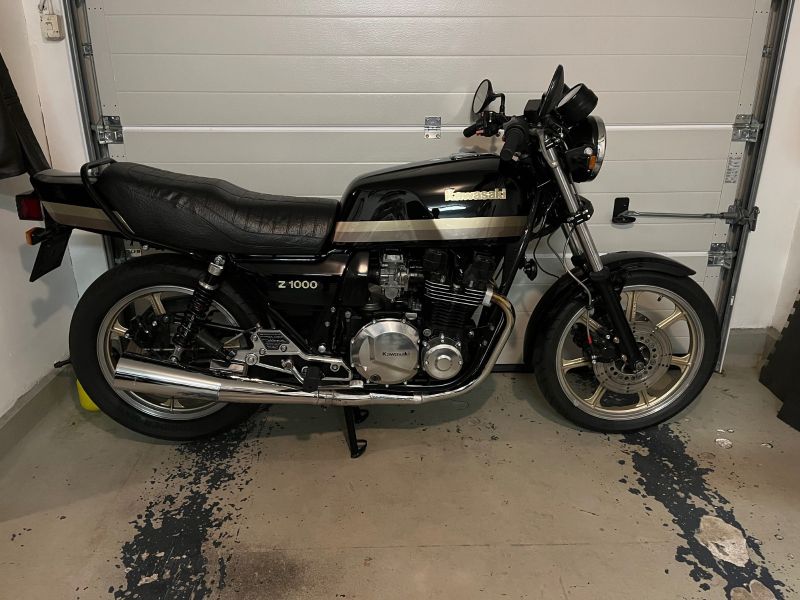
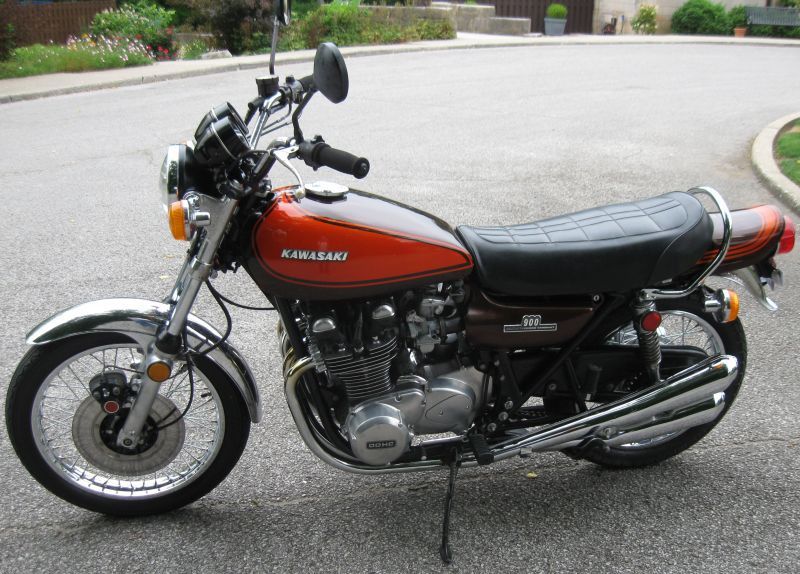
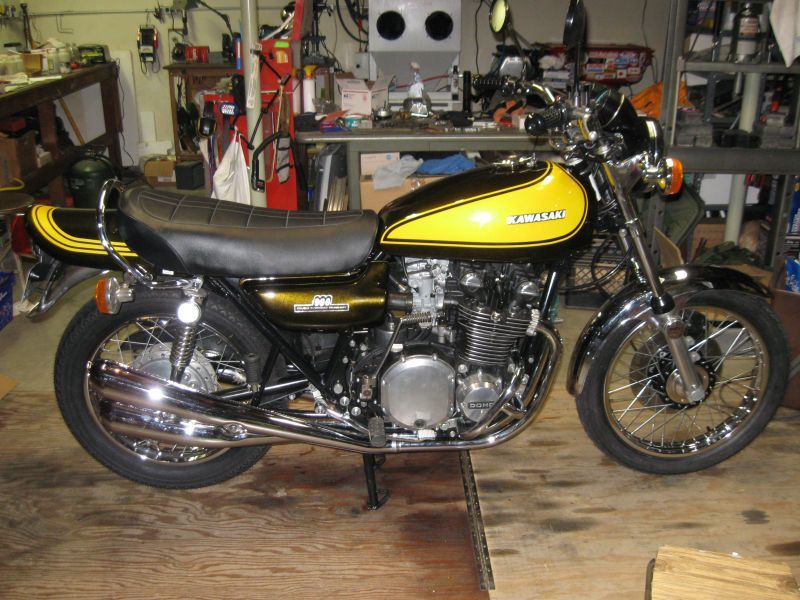
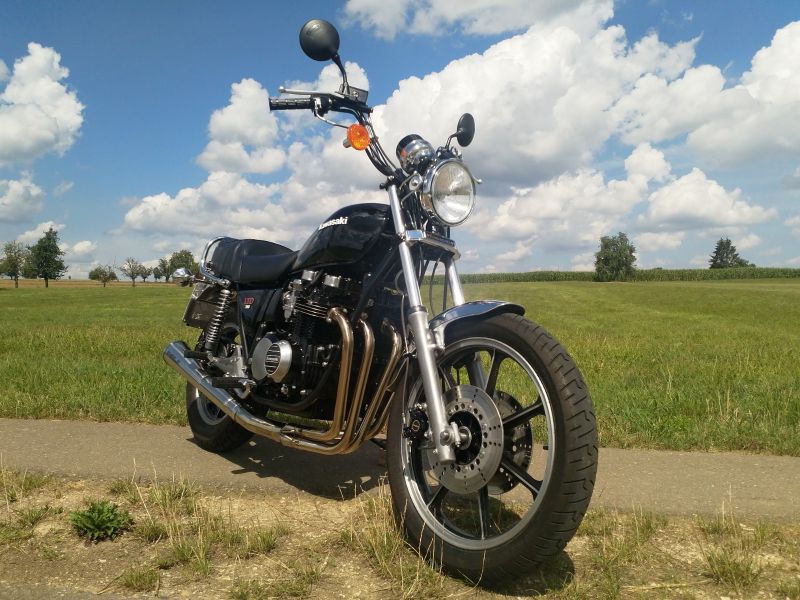
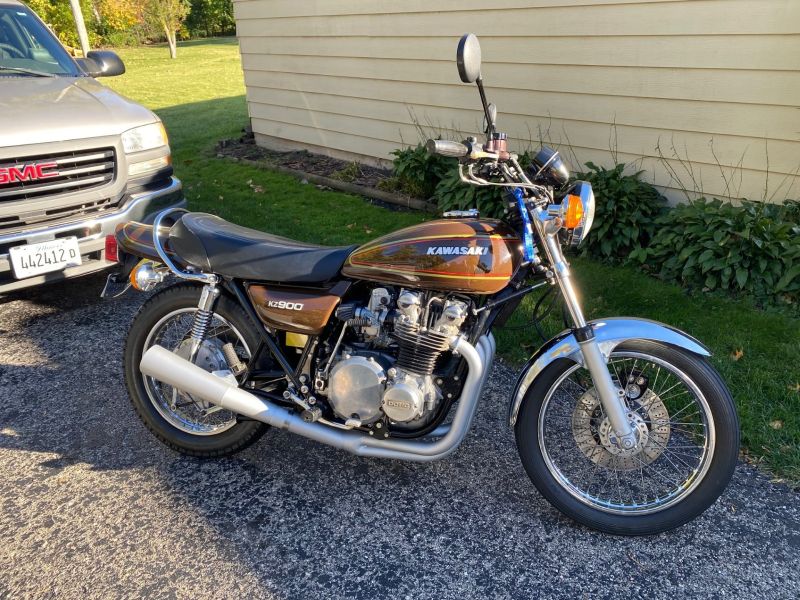
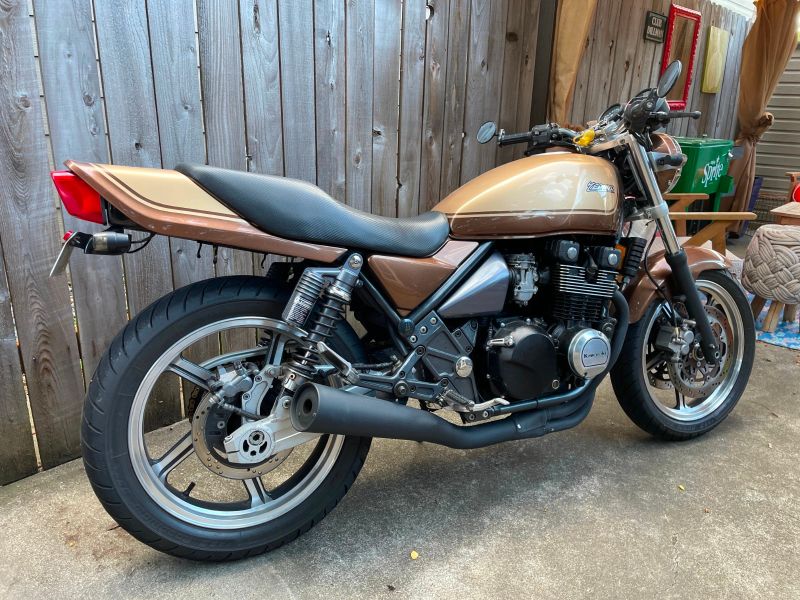
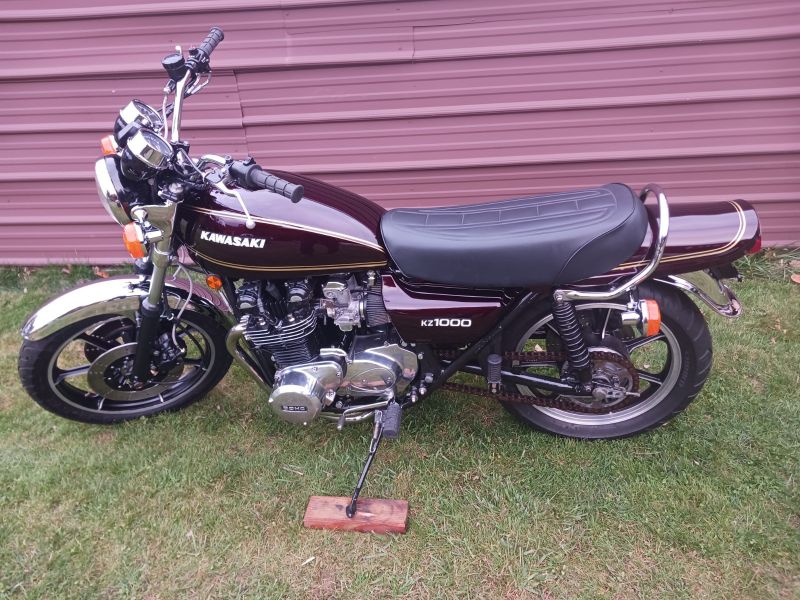
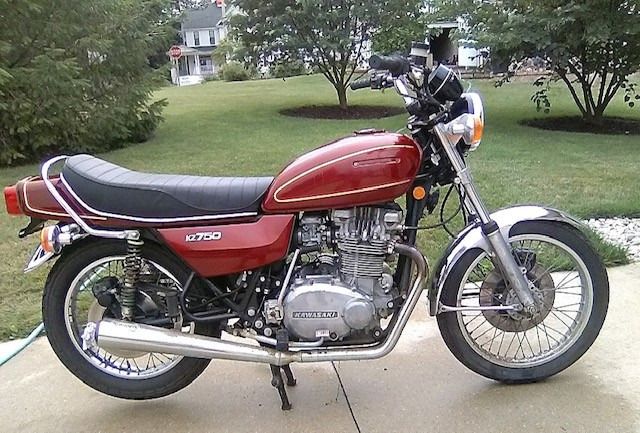
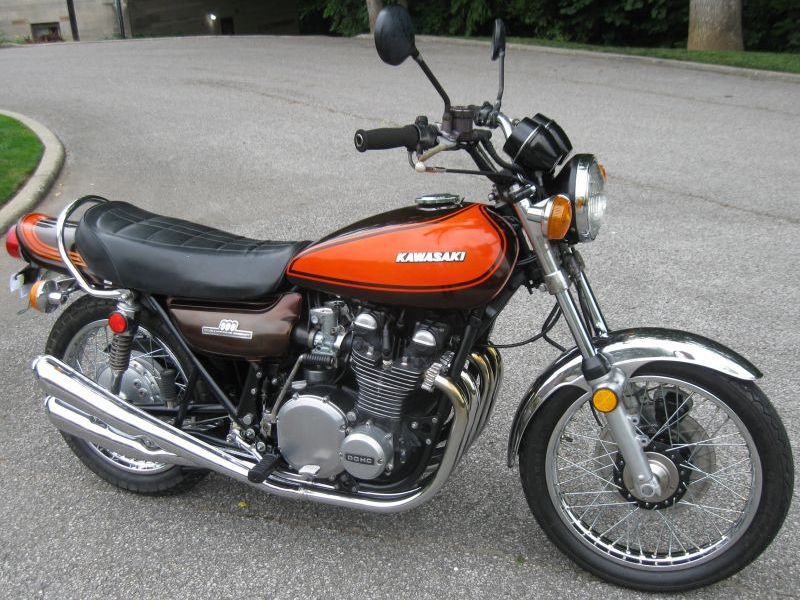
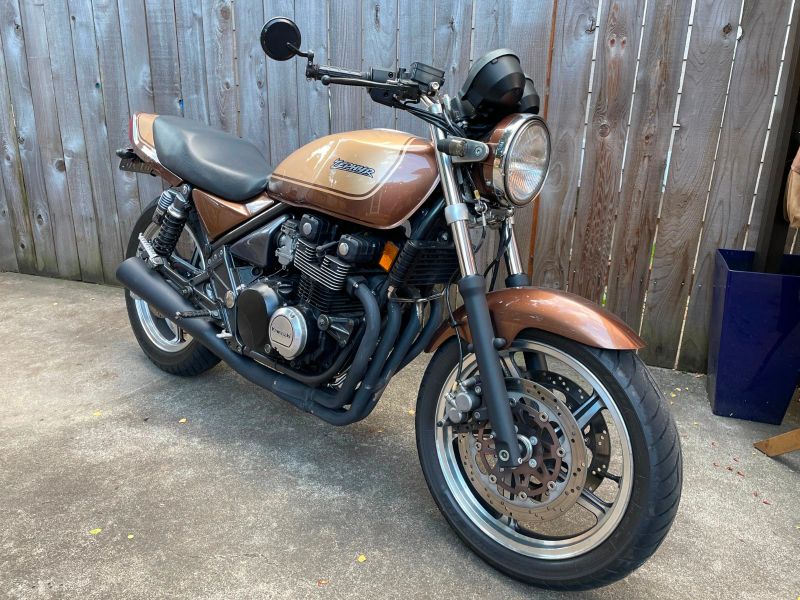
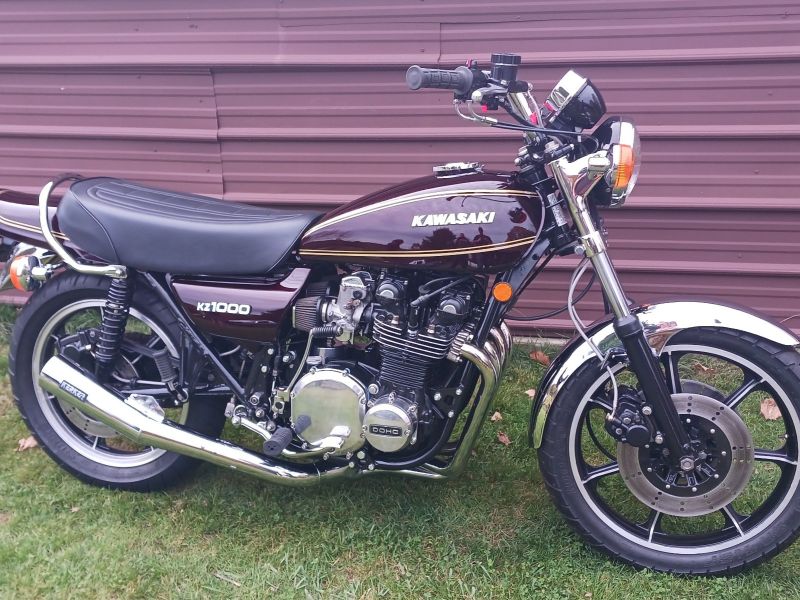
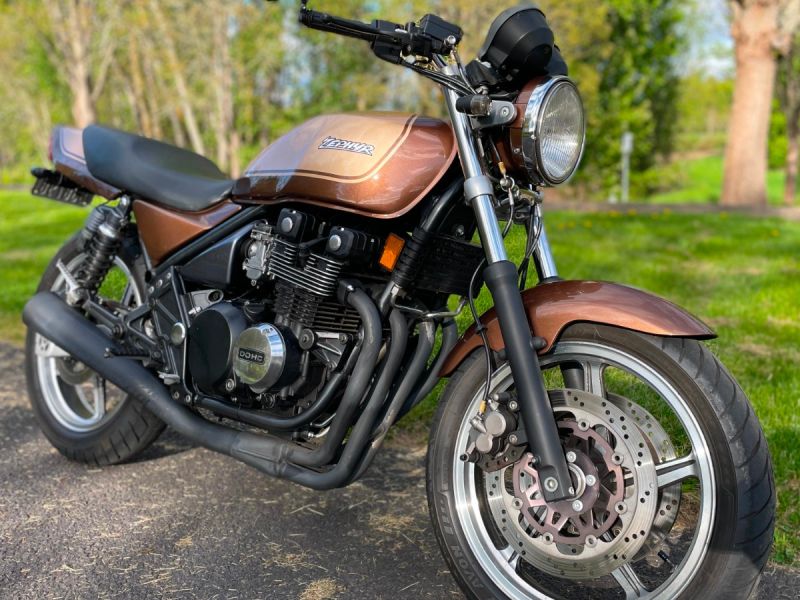
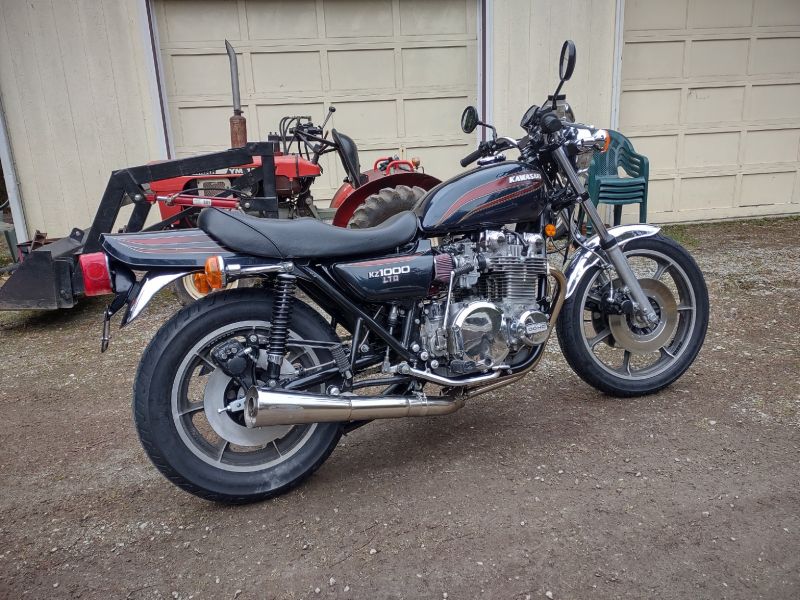
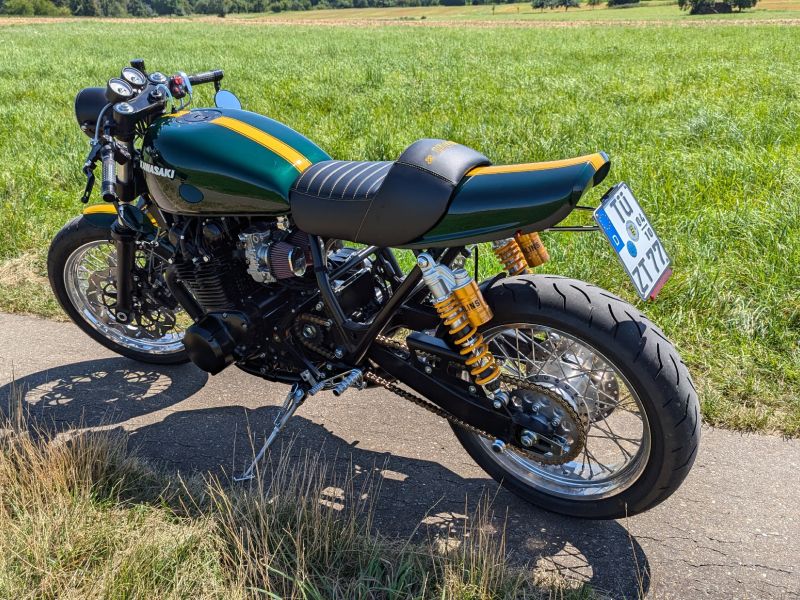
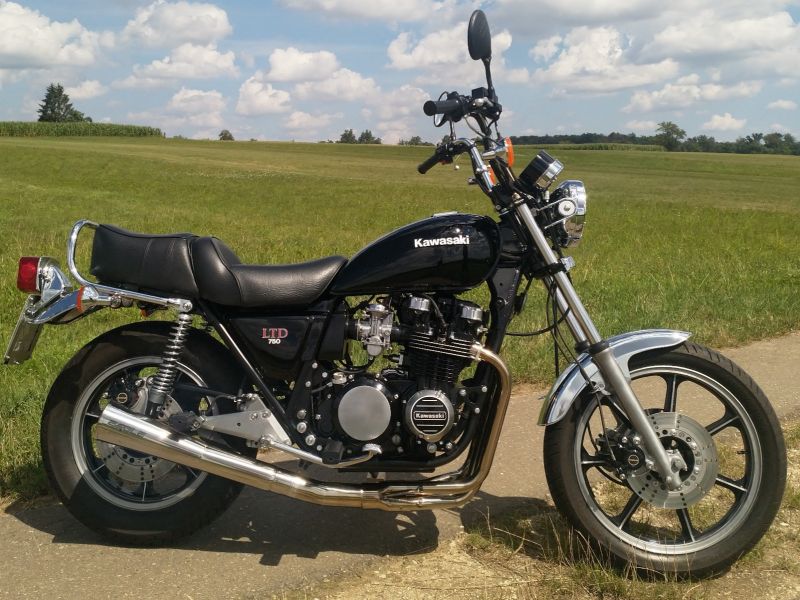
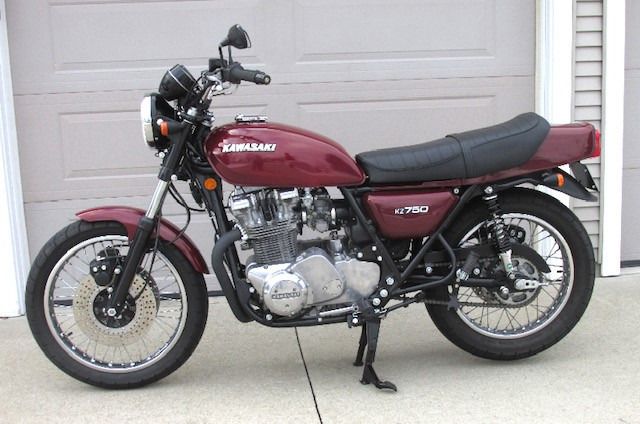
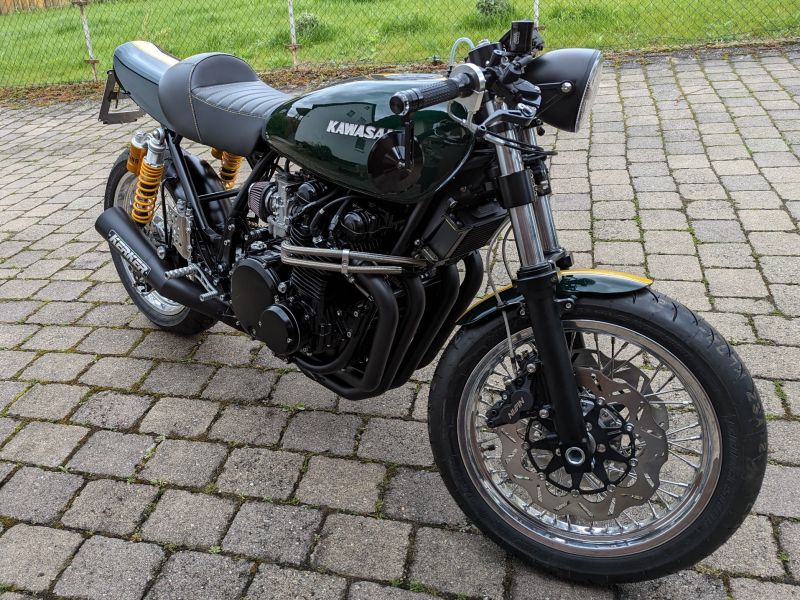
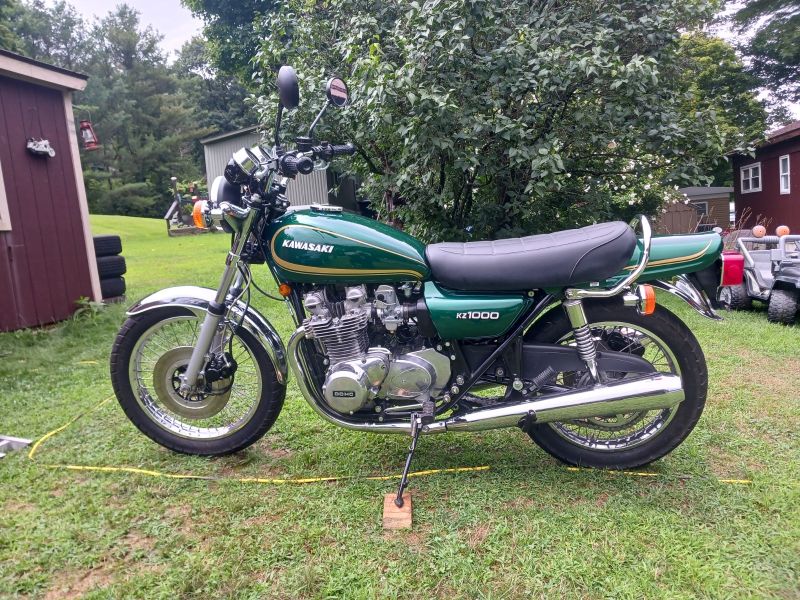
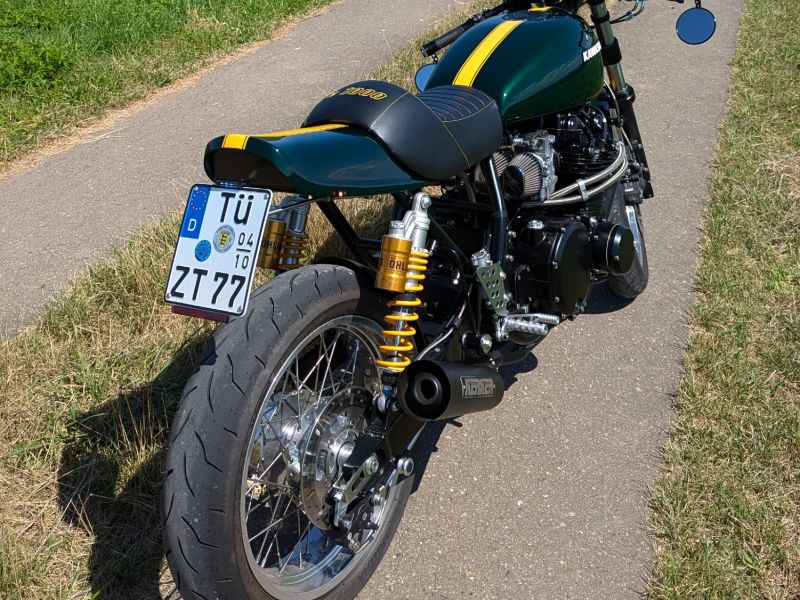
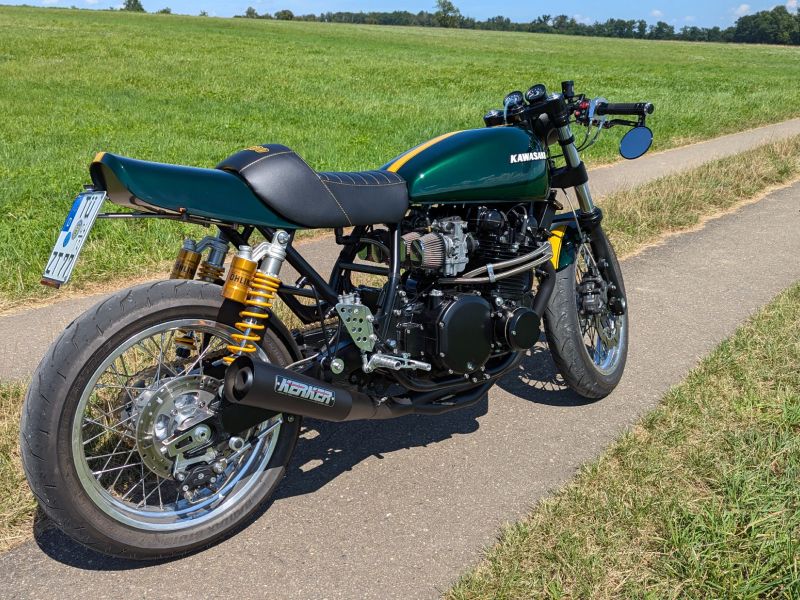
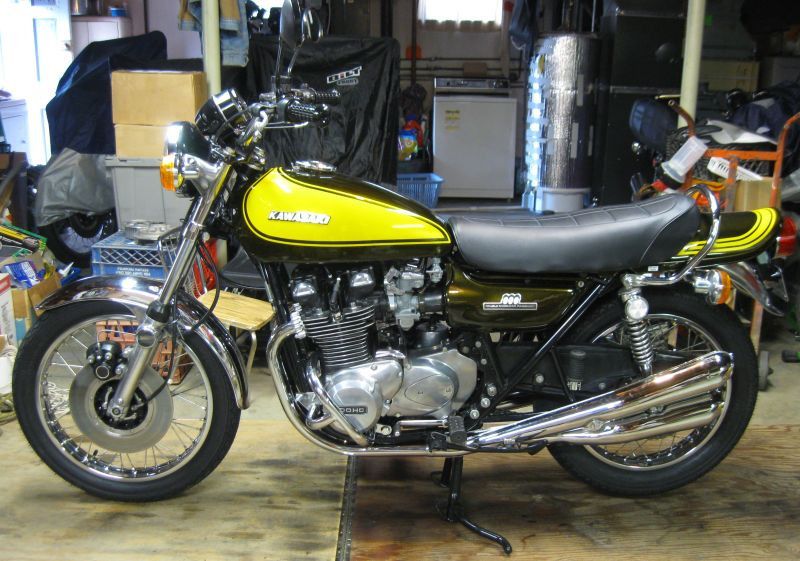
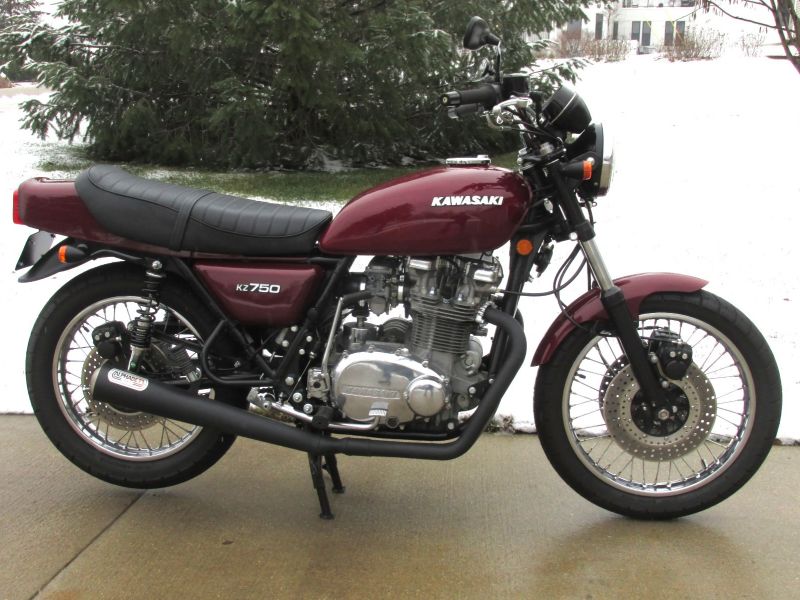
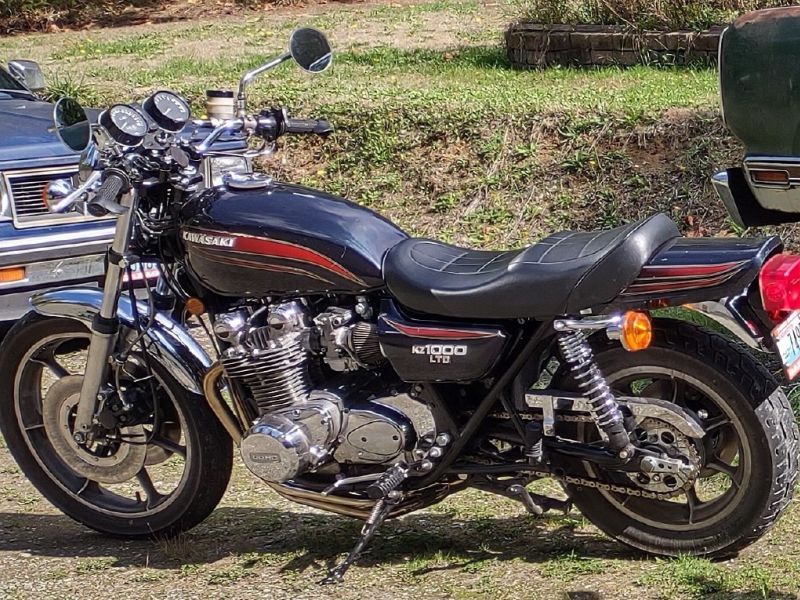
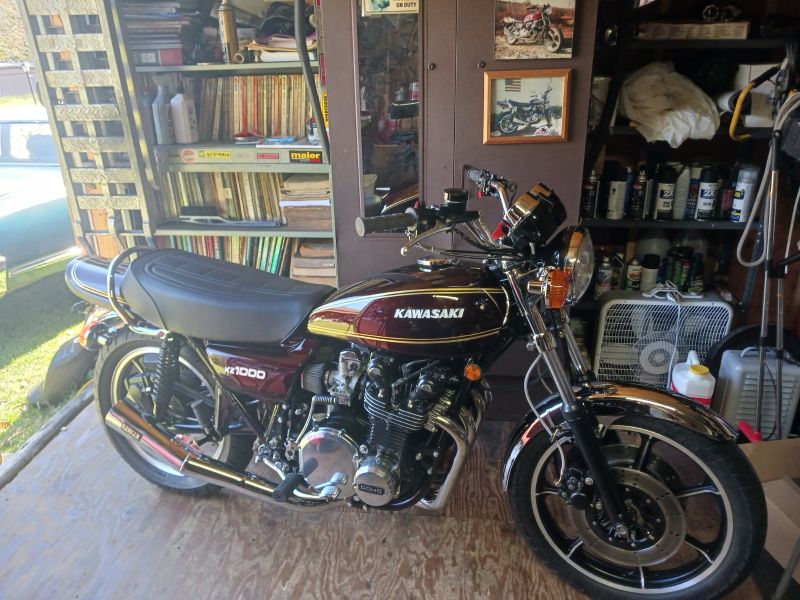
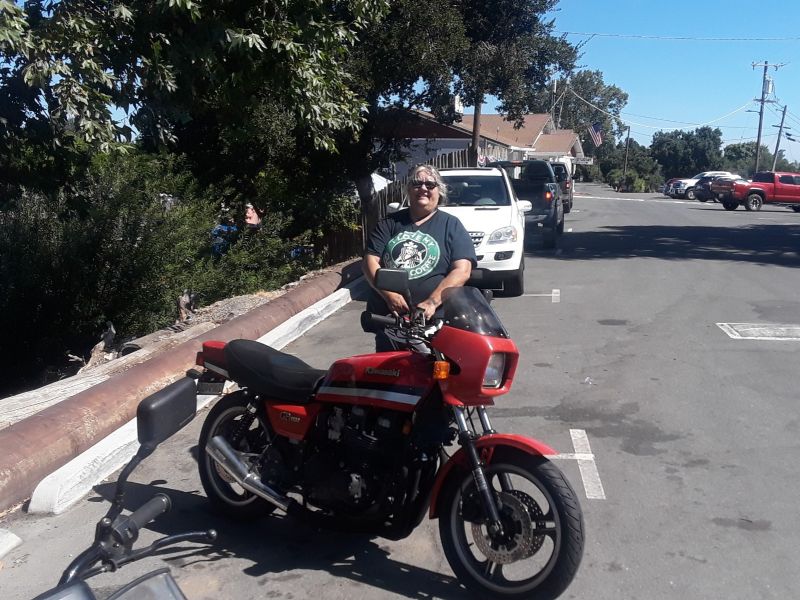
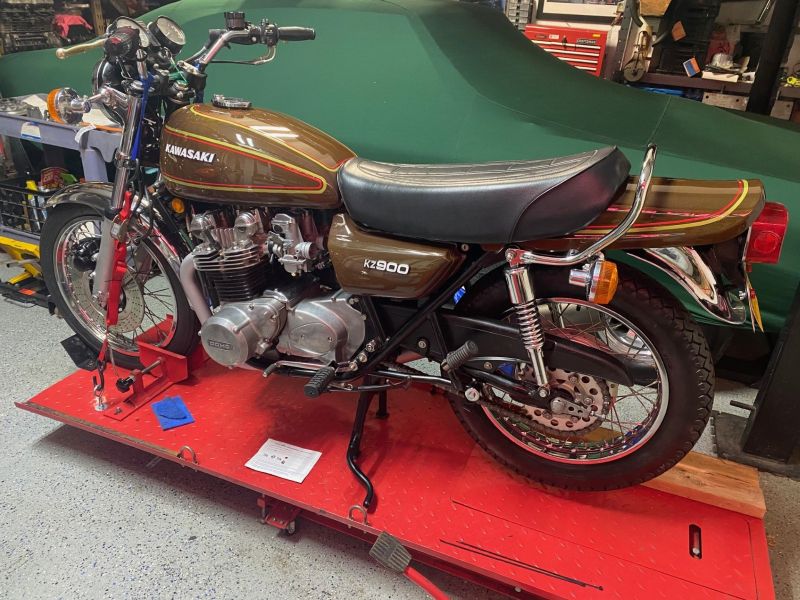
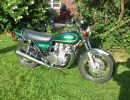
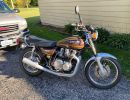
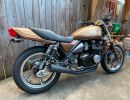
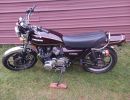
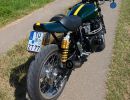
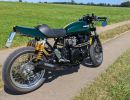
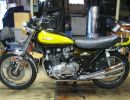
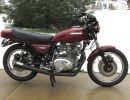
KZR's Bikes of the Month for 2024
1978 kz 650 sr - rocker cover removed - questions about service to top end

  • xstreamcanadian
  • Topic Author
  • Offline
  • User
More
14 May 2024 21:18 #899072 by xstreamcanadian
Thanks Ron. I just watched a video that the guy did exactly what you are saying. You are correct about my tensioner, apologies I referred to it as automatic but yes you are correct. the factory manual says to remove the tensioner and the tach gear for some reason? i think thats more geared toward removing the whole head tho?

Please Log in or Create an account to join the conversation.

  • xstreamcanadian
  • Topic Author
  • Offline
  • User
More
18 May 2024 17:45 - 18 May 2024 17:56 #899272 by xstreamcanadian
ok so I got all the valve shims changed out as follows....

measured      .12          .09      .09      .18          .05      .04      .08      .08
shim               270         270      280     245       260      270    250      250
new shim        265         265      270     250       250      260     245      245
new measure   .17         .14       .19       .13         .15     .14       .13       .13    

I had to rob the original 245 from 4 to use on 8, so 4 got less good but still in ballpark. I dont have a 275 so 3 is high end of the range. Im thinking I may drop that back to 280 but .09 is getting close to out of range too on the bad end so I figured I was better to err on the high end. I had two other bikes worth of shims, so I just used what i had to get everything as close to good as I could. Any thoughts? 

I also ended up completely untiming the camshafts and my first attempt at getting them back was a total fail. I had to read the manual and noticed it says to remove the tensioner, so I will do that and try again. I was also not starting with the exhaust cam, so i made a few errors. No damage done I tried to slowly turn and it was clearly not ok so I stopped and disassembled again. Can someone tell me the trick to getting the cam side that sticks up to sit down without using the bolts and the cradle to crank it down? Push on it first? The manual says to do the left hand side first, so I am guessing that is why? Any help is appreciated. 

xc


Last edit: 18 May 2024 17:56 by xstreamcanadian.

Please Log in or Create an account to join the conversation.

  • xstreamcanadian
  • Topic Author
  • Offline
  • User
More
18 May 2024 18:04 #899273 by xstreamcanadian
so Ron i misread or didnt understand well and well..... i buggered up the timing. DOH!!  So ive been trying to get it back with no luck. Just read the factory service manual and i was doing a bunch of things wrong. Hope this procedure is correct..

remove tensioner 
set timing to T 
lay in the exhaust cam first, then lay chain tight on it, then set in intake cam, both cams using the T mark lined up with the case  (i have been having a hell of a time getting them to sit in their spots as one end is kicked up and im unsure of how to start tightening the caps worried about stripping something using the cap to pull the cam shaft into place i guess
count the chain teeth in between, no slack between cams  (this part also has me confused 
tighten caps on left side first, then right side 
install chain guide
install tensioner and rotate engine slowly to get tensioner to take up slack 
check timing marks again 

Please Log in or Create an account to join the conversation.

  • sf4t7
  • Away
  • Sustaining Member
More
18 May 2024 20:59 #899281 by sf4t7
One method for installing the cam bearing caps is to use a clamp to hold the cam in place, another is to use studs longer than the cap bolts and bring the caps down with nuts then exchange each stud for the correct bolt one by one (thanks Wookie)


Scotty

1974 Z1A
1015
welded Z1 crank
Andrews 1X Cams
Delkevic 4 into 1
Superbike bars
530 conversion
The following user(s) said Thank You: xstreamcanadian, Wookie58

Please Log in or Create an account to join the conversation.

  • hardrockminer
  • Offline
  • Sustaining Member
More
19 May 2024 04:05 #899289 by hardrockminer
The clearance spec is 0.08 to 0.18 mm.  It looks like you can go one size smaller on several of your shims.

I have several restored bikes along with a 2006 Goldwing with a sidecar. My wife has a 2019 Suzuki DR 650 for on and off road.

Please Log in or Create an account to join the conversation.

More
19 May 2024 07:17 #899294 by Injected
I set shims between .006-.008" as they have a tendency to close up if anything. Setting them to anything less than .005" is asking for extra work on shim under setups (650/750)
 

Please Log in or Create an account to join the conversation.

  • xstreamcanadian
  • Topic Author
  • Offline
  • User
More
19 May 2024 07:22 - 19 May 2024 07:27 #899295 by xstreamcanadian
Yes thats the spec but as i have learned the spacing decreases over time so one should really aim for the top end of the spec. So i did that but i also used what i had in my pile of shims. Yes agreed he 13s would be bettwr off 18s but i dont have those shims 
Last edit: 19 May 2024 07:27 by xstreamcanadian.

Please Log in or Create an account to join the conversation.

  • xstreamcanadian
  • Topic Author
  • Offline
  • User
More
19 May 2024 07:24 #899296 by xstreamcanadian
.00 anything is way too tight. Spec in the factory manual is a min of .08 max of  .18 

mine are all under the max except the one which is, i believe so close it wont matter. 

Please Log in or Create an account to join the conversation.

  • xstreamcanadian
  • Topic Author
  • Offline
  • User
More
19 May 2024 07:33 #899298 by xstreamcanadian
Ill give this a go today. Thank you 

Please Log in or Create an account to join the conversation.

  • xstreamcanadian
  • Topic Author
  • Offline
  • User
More
20 May 2024 09:13 #899375 by xstreamcanadian

One method for installing the cam bearing caps is to use a clamp to hold the cam in place, another is to use studs longer than the cap bolts and bring the caps down with nuts then exchange each stud for the correct bolt one by one (thanks Wookie)

So i got it done yesterday. followed the factory manual to the letter. It worked, no real issue getting the cams to sit down, started on the left, gently lowering one cap then the next, manual says to go numerical.  Thanks so much for the help. today I will re measure the valve clearances and pray i didnt do any bad math. Button her all up and see what happens! 
 
The following user(s) said Thank You: Nessism, sf4t7

Please Log in or Create an account to join the conversation.

  • xstreamcanadian
  • Topic Author
  • Offline
  • User
More
20 May 2024 17:23 #899429 by xstreamcanadian
I know Im basically just talking to myself at this point but I want to circle back and tie this off. 
I torqued it all down this morning and measured all the valve clearances. The math from my previous paperwork and what I was expecting line up more or less but less, as in the spacers I used didnt give me the exact clearances I should have gotten. I think i was nervous when I was measuring originally. SO...... with my new found skill and understanding from you guys I tore the cams off again, this time maintaining the timing thank god and replace two of the shims. 
the numbers I ended up with are as follows:

.14   ,14  .14 .13 
.13   .11   .15   .10 

Id like to set the intake side to a closer spec like the exhaust but I need to order some shims. for now I think the numbers are ok. well within spec except for the one .10 which is in obviously just low. I learned alot doing this job about how easy the head is to work on and how accessible. Im thinking maybe do a valve job in the future for fun. 

Going to re clean the carbs and button it up once the cover gasket shows up. Had to order OEM off fleabay due to it being NLA. 

cheers and much thanks 

Please Log in or Create an account to join the conversation.

More
20 May 2024 17:43 #899431 by JR
I would go with those numbers and just check clearances at the end of the season or the start of next years.

all in spec

1980 kz750E1, Delkevic exhaust
The following user(s) said Thank You: xstreamcanadian

Please Log in or Create an account to join the conversation.

Powered by Kunena Forum

If you like KZR Please consider making a donation. Thank you.

KZRider is free, but not without cost.

Please consider chipping in a few bucks to help cover the cost of running the KZR servers.