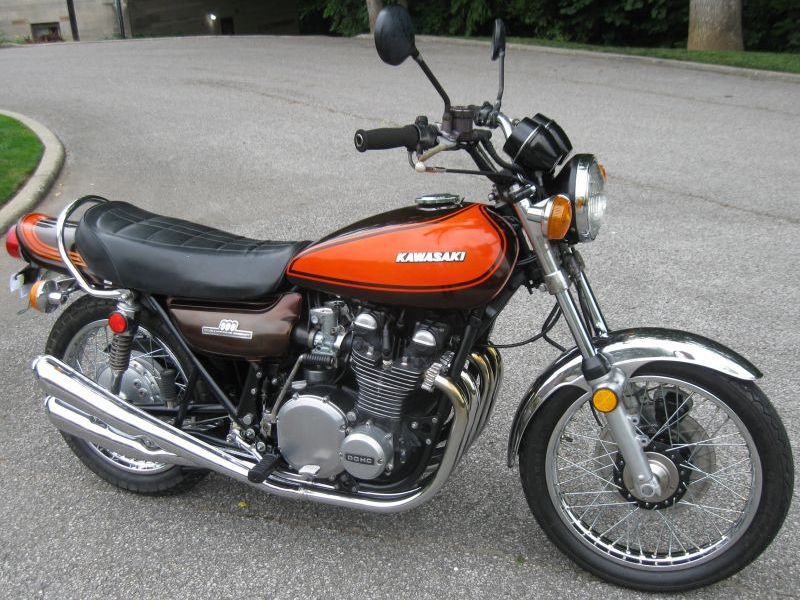
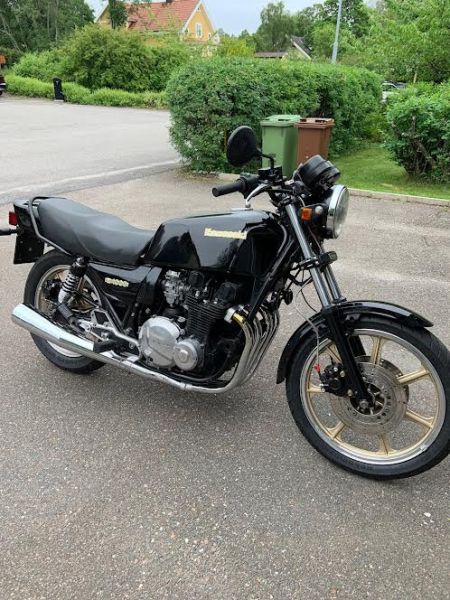
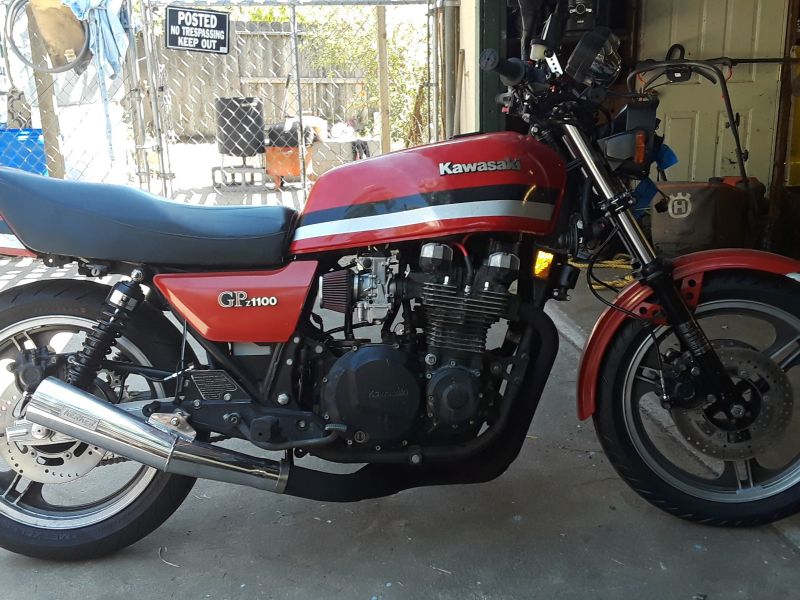
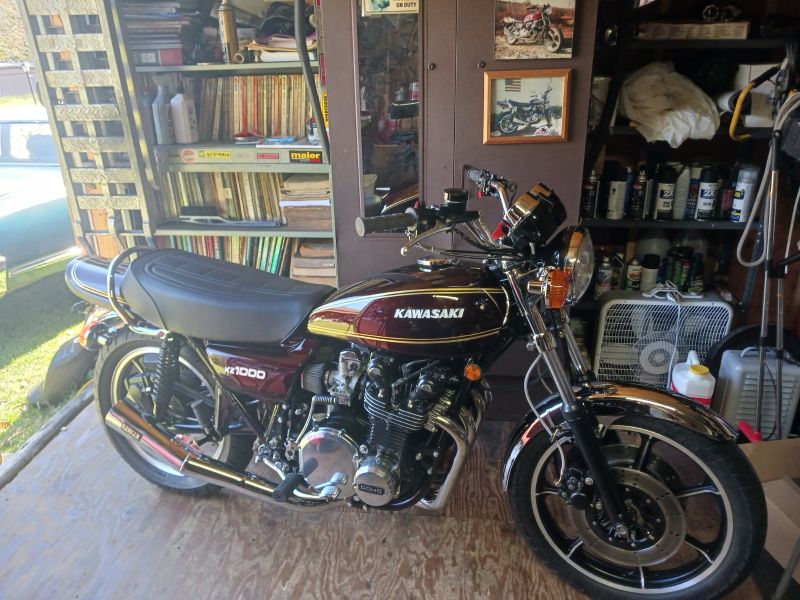
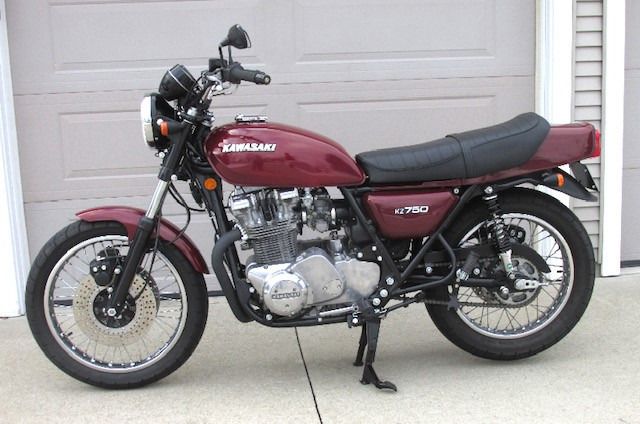
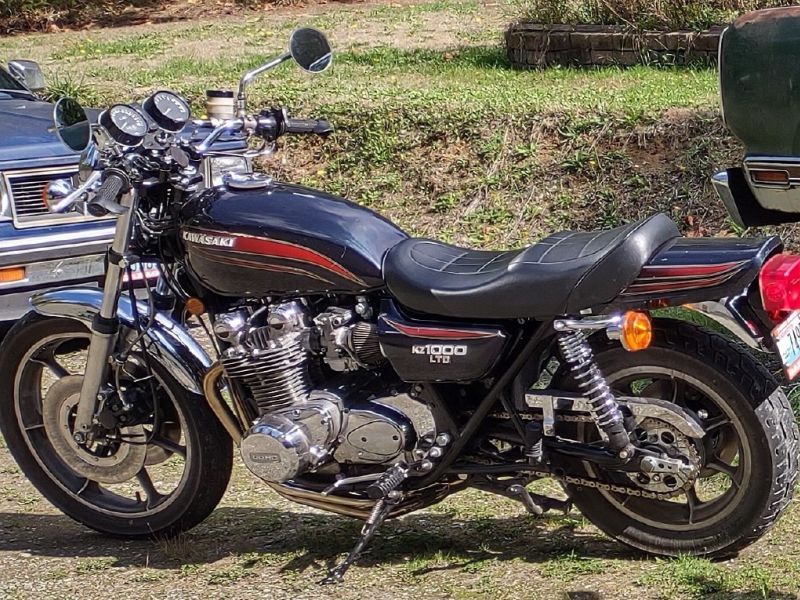
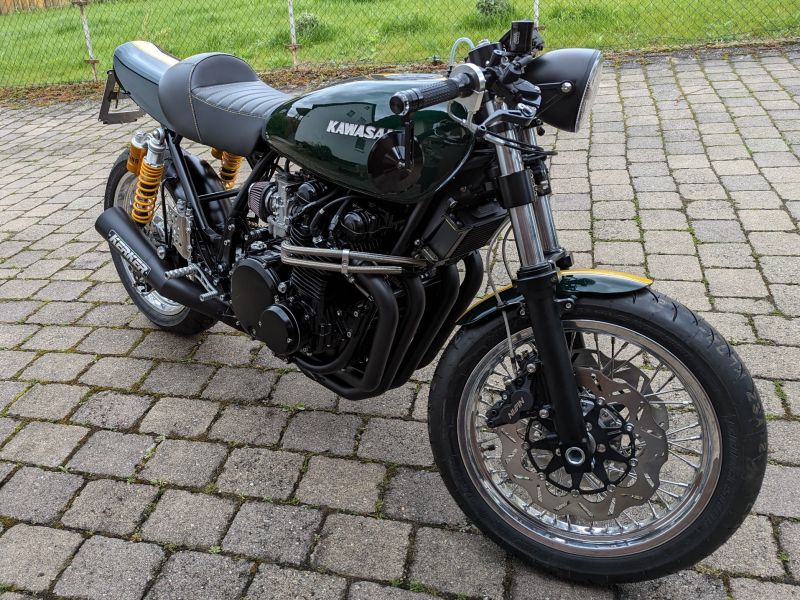
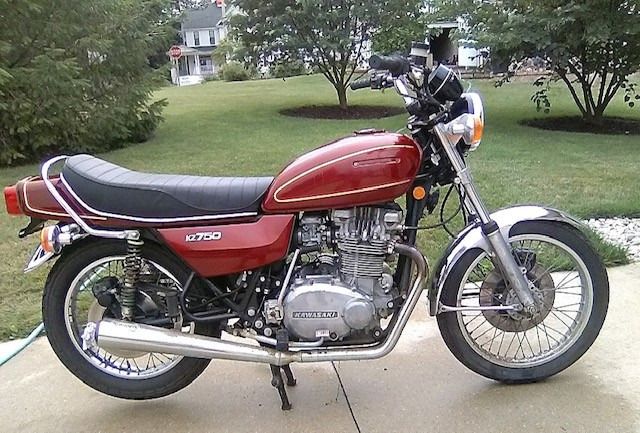
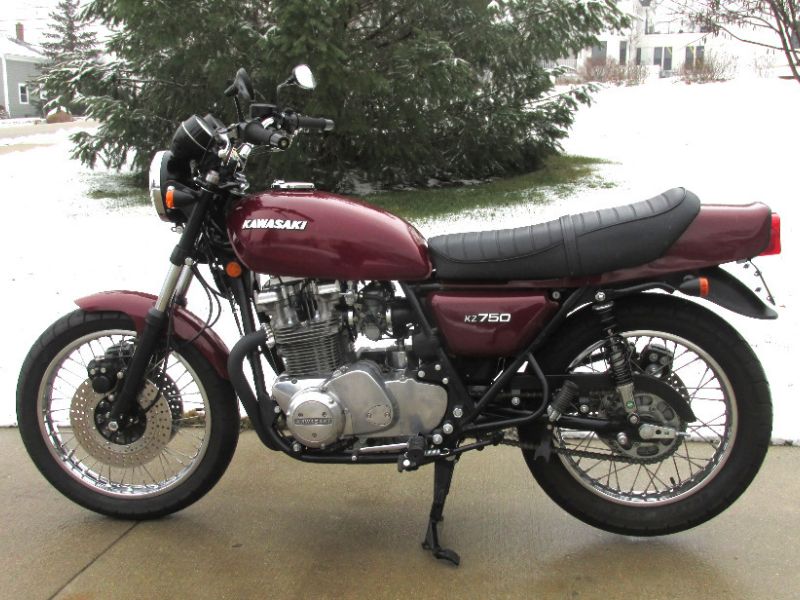
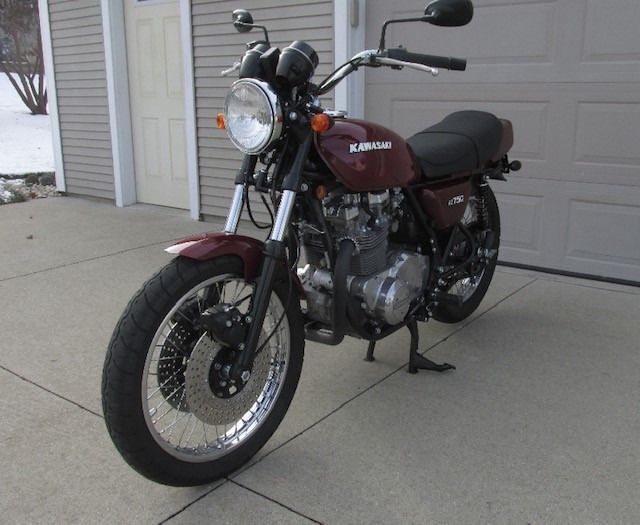
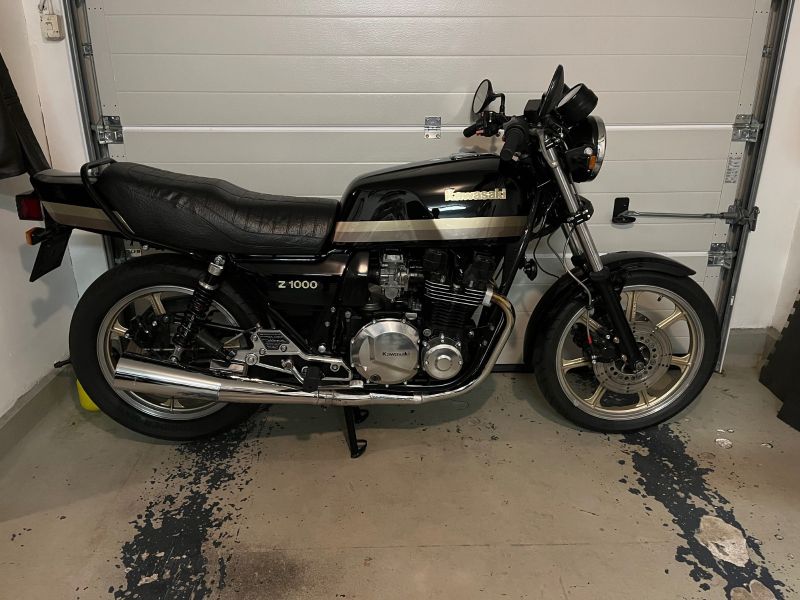
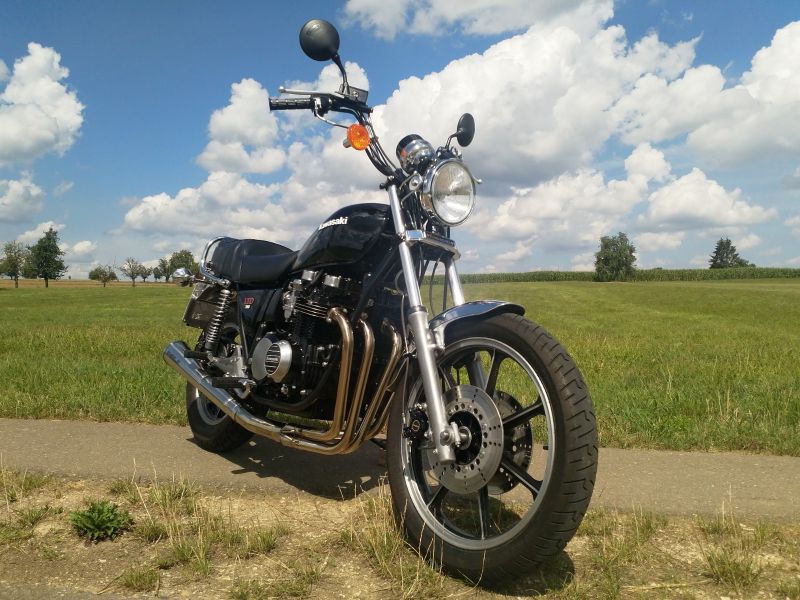
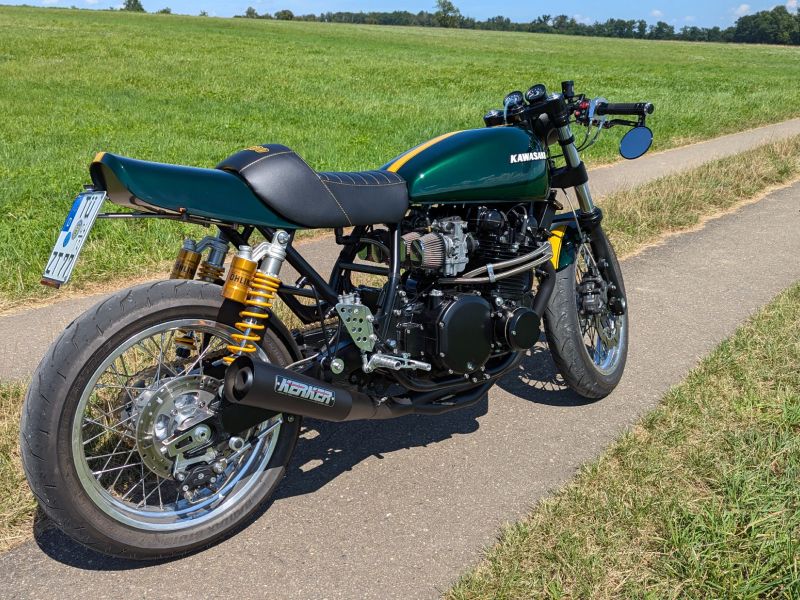
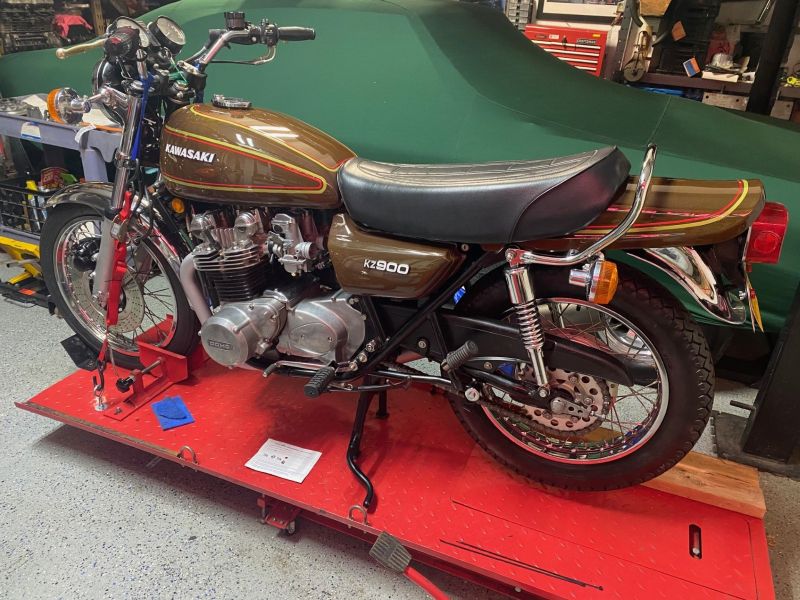
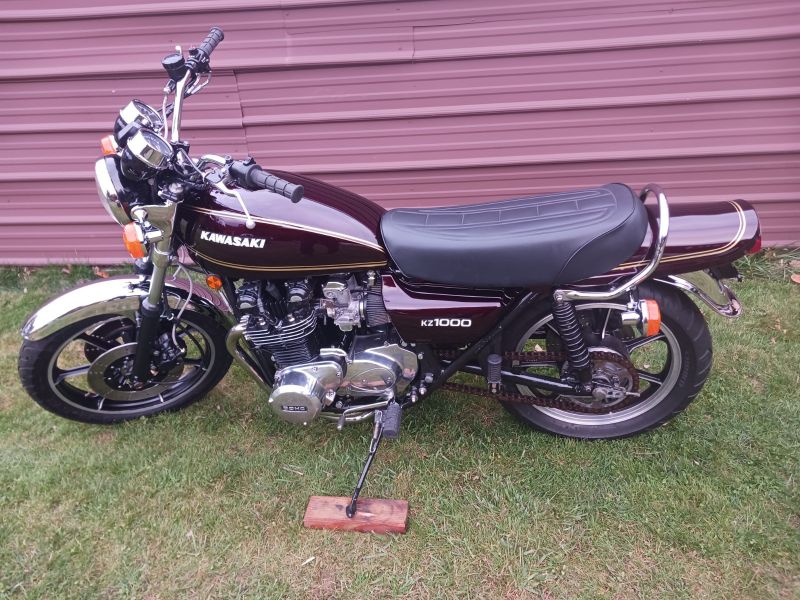
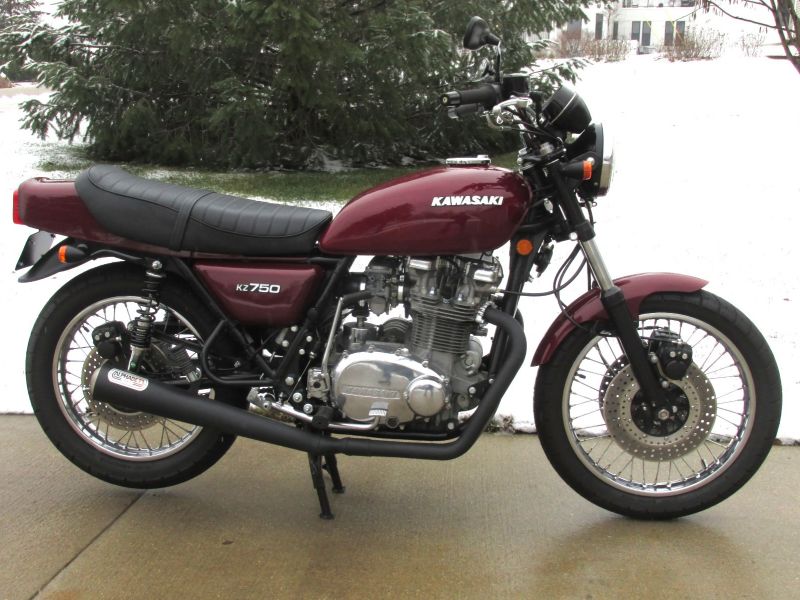
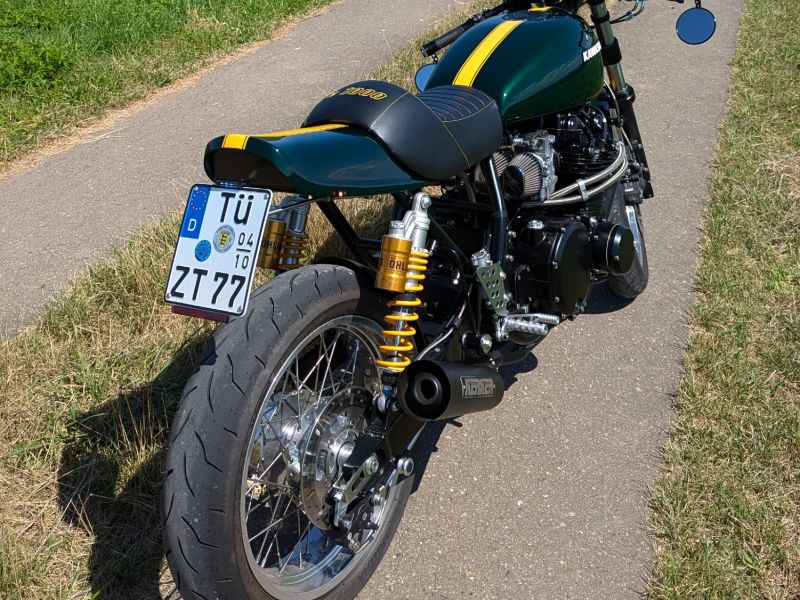
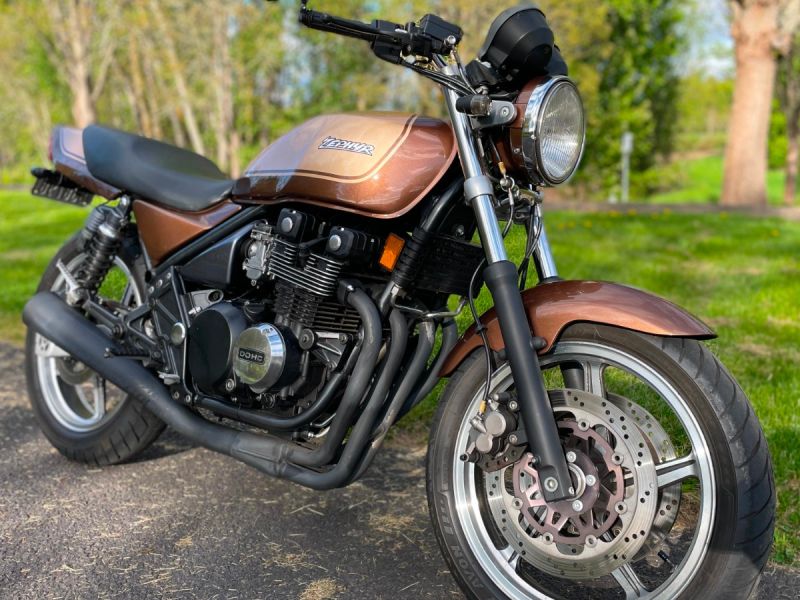
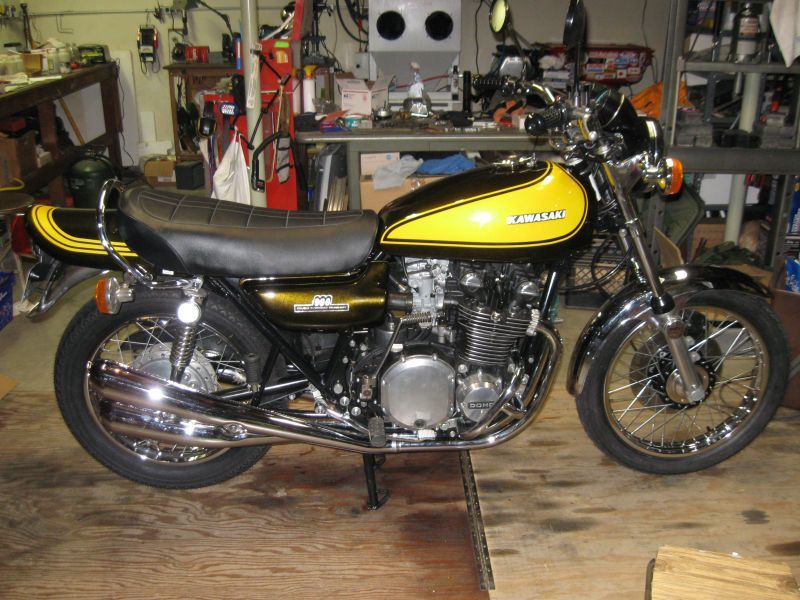
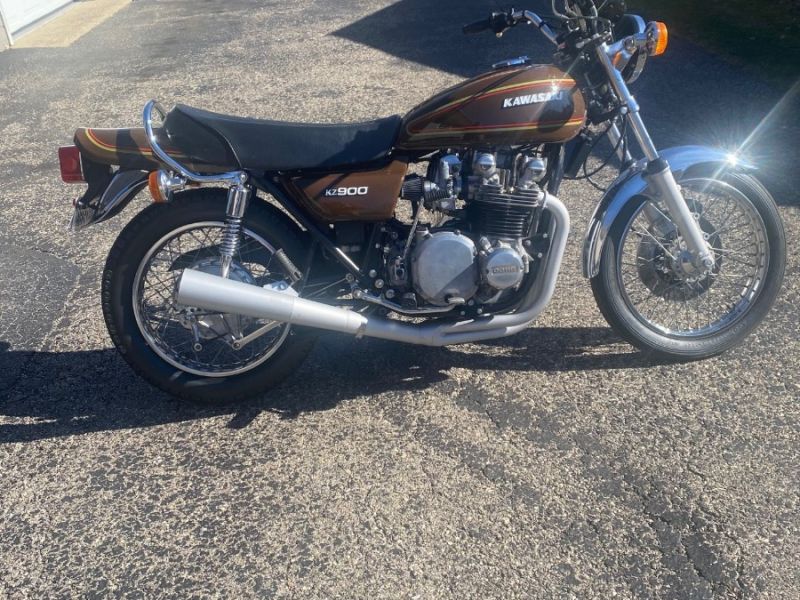
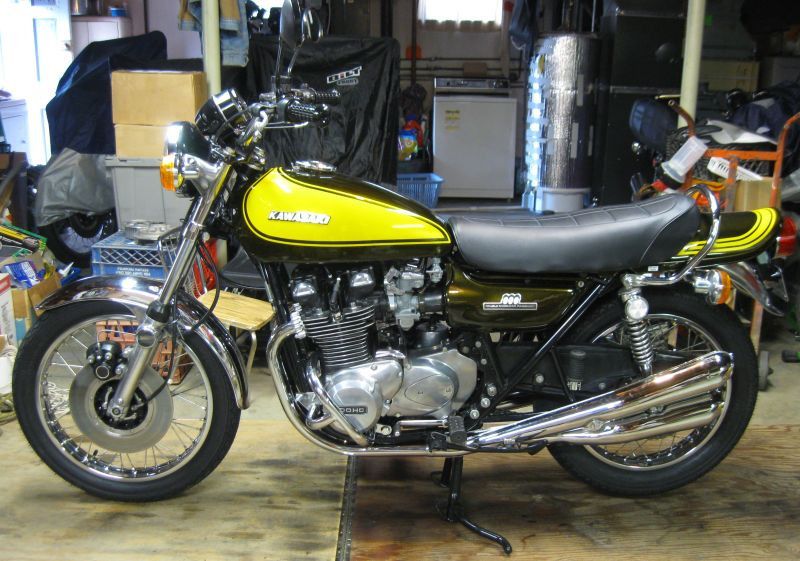
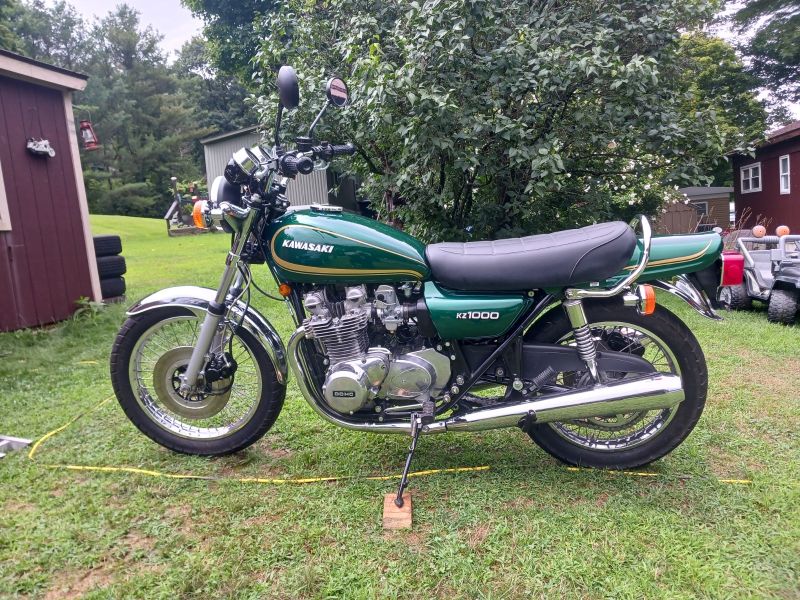
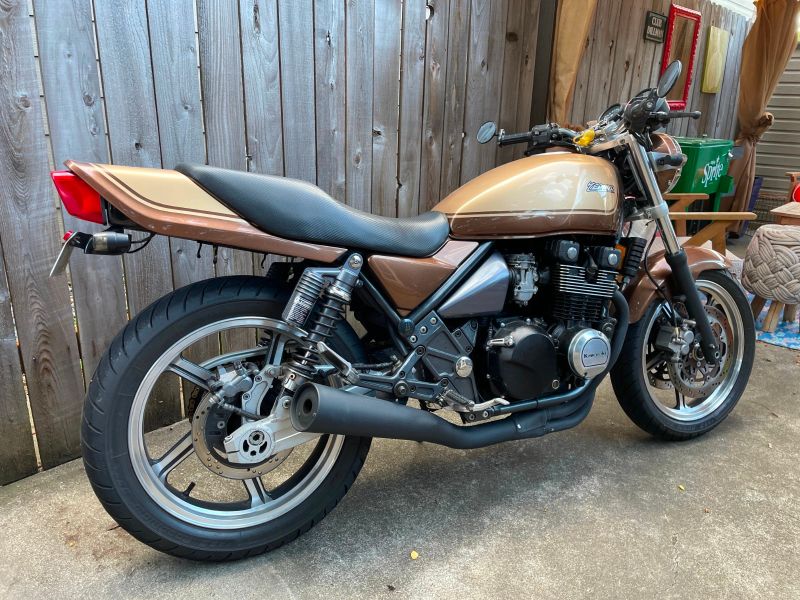
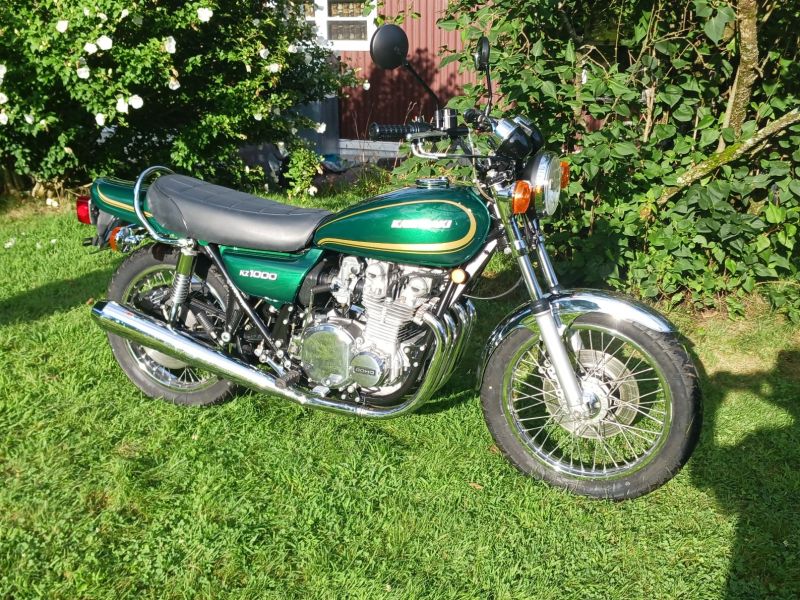
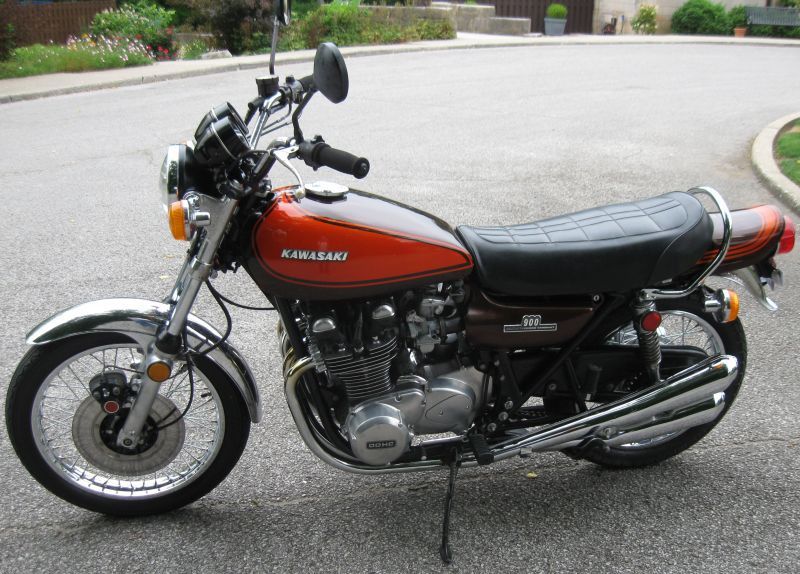
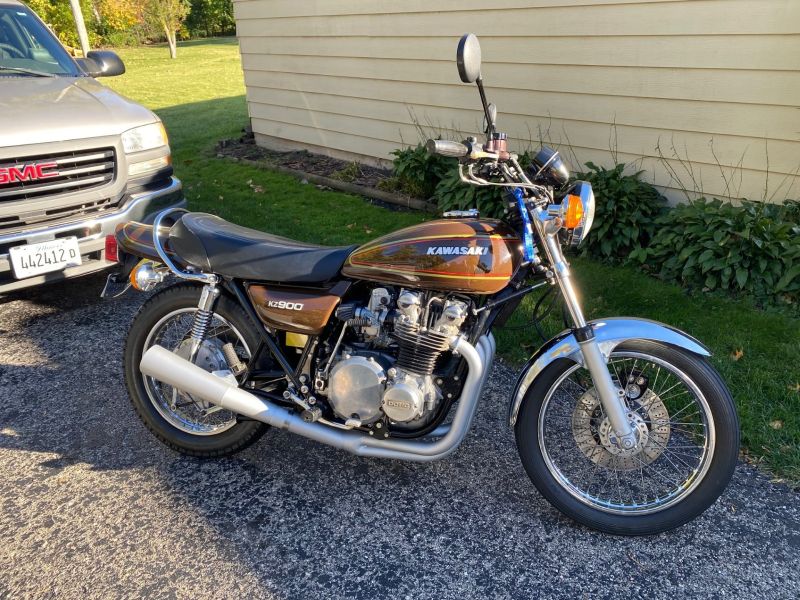
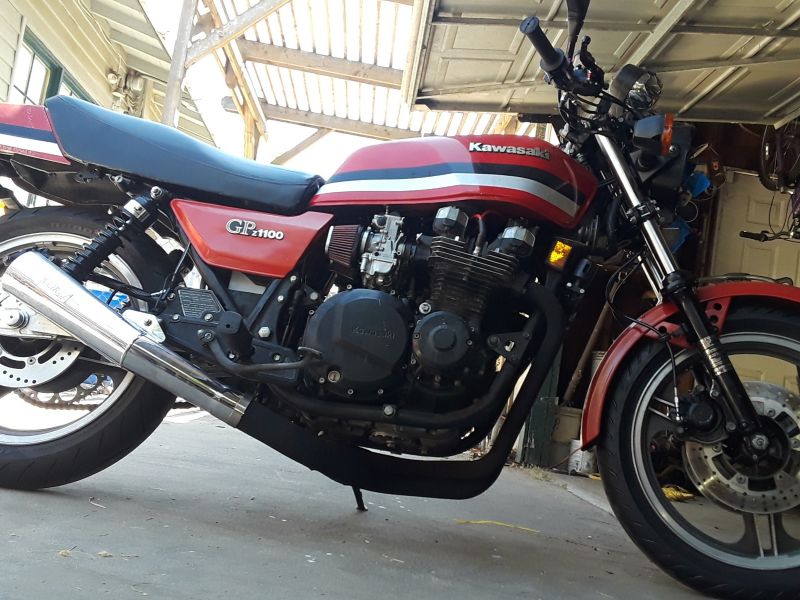
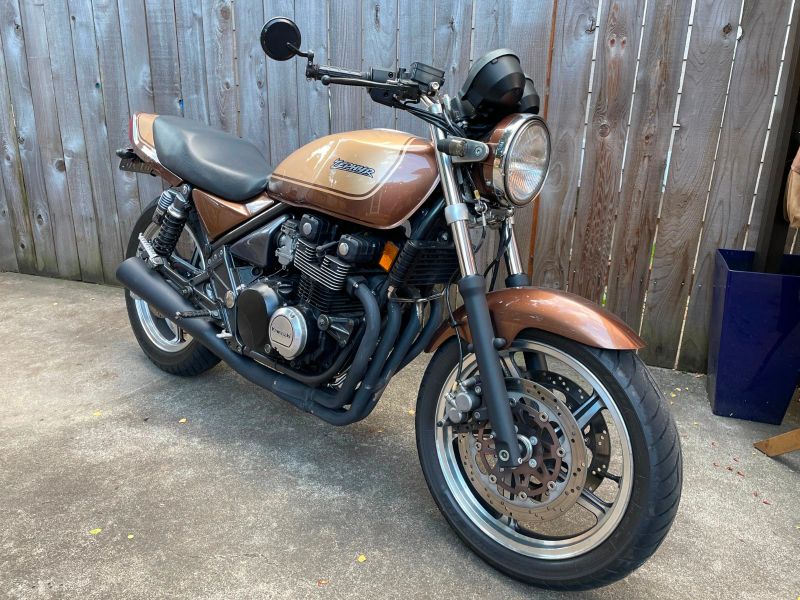
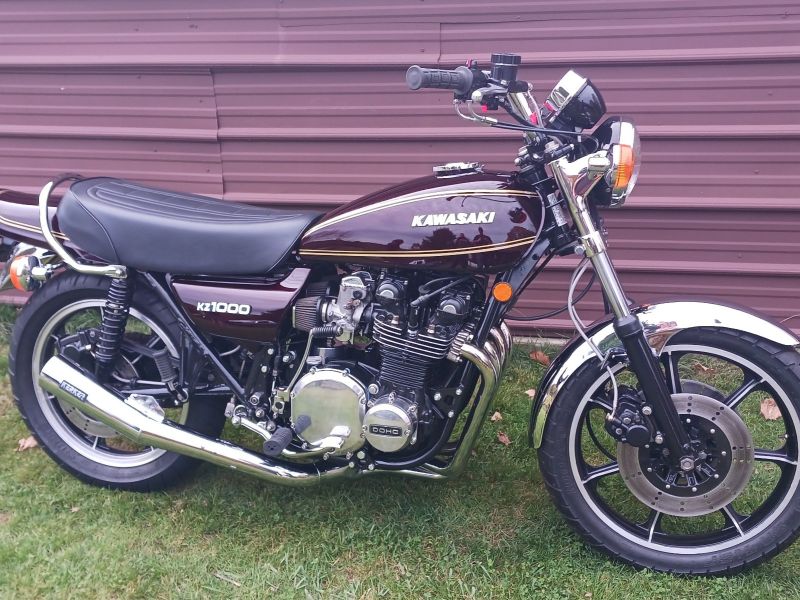
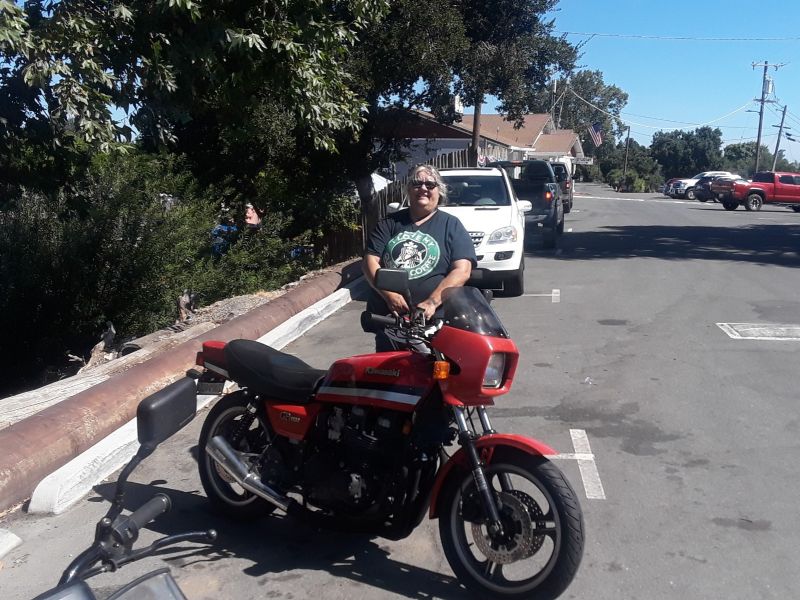
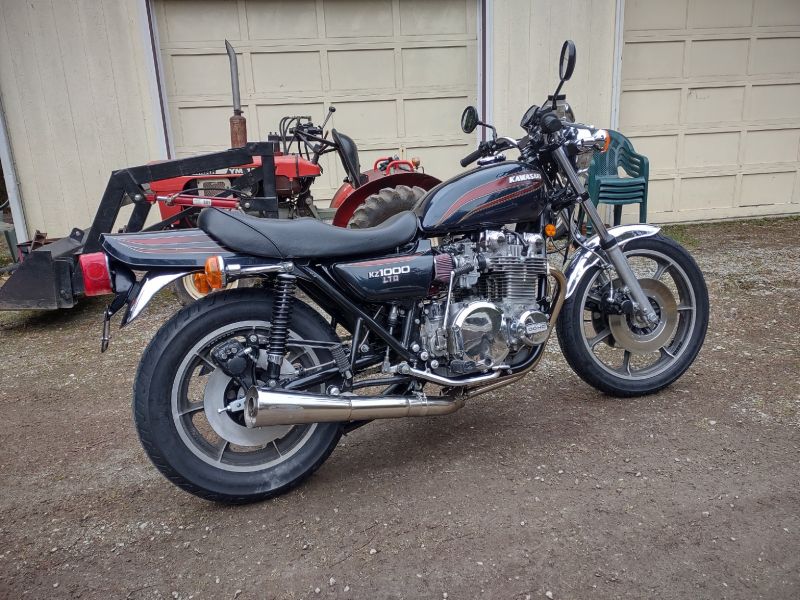
KZR's Bikes of the Month for 2024

Replaced perished manifold boots now v high idle speed

More
08 Mar 2023 14:55 #881260 by Jimbo68
Can I test the overflow before I reinstall the carb in my bike? 

1981 Kawasaki KZ440-A2

Please Log in or Create an account to join the conversation.

More
08 Mar 2023 15:00 - 08 Mar 2023 15:02 #881261 by Warren3200gt
Yes, rig up a remote fuel tank, rest the carbs upright in the vice, turn the fuel on, see what happens. 
Did you get a new needle and seat? 
Whilst you have the test rig set up you should test/set the fuel height in the bowls using the wet method. 


Z1000J2 somewhat modified!

Last edit: 08 Mar 2023 15:02 by Warren3200gt.
The following user(s) said Thank You: Jimbo68

Please Log in or Create an account to join the conversation.

More
08 Mar 2023 15:23 #881264 by Nessism

Yes, rig up a remote fuel tank, rest the carbs upright in the vice, turn the fuel on, see what happens. 
Did you get a new needle and seat? 
Whilst you have the test rig set up you should test/set the fuel height in the bowls using the wet method. 


The seat is built into the carb body.  The needle tip is rubber, so the seat rarely wears.
The following user(s) said Thank You: Warren3200gt, Jimbo68

Please Log in or Create an account to join the conversation.

More
09 Mar 2023 00:10 #881269 by Jimbo68
Thanks warren3200gt. 

I bought a new float valve needle. 

seat?

I’m assuming the one thicker hose from the tank is petrol for both carbs and the thinner hose is the breather/air pipe?

if that’s right, do I do anything with the air pipe, e.g. close it?

wet method?

apologies for continued questions. 

1981 Kawasaki KZ440-A2

Please Log in or Create an account to join the conversation.

More
09 Mar 2023 01:20 - 09 Mar 2023 01:23 #881271 by Warren3200gt
Wet method =
With carbs upright, insert some clear tubing into the drain hole and hold it against the carb body. 
Turn the fuel on and the bowl and tube will fill until the floats raise the needle and shut off incoming fuel. Look where the fuel is in the tube. It wants to be between 2- 4 mm below the mating surface of the bowl/carb body. If it's too high that cylinder will run rich. If its too low it will run lean. 
You adjust the fuel height by bending the float tang that the needle rests on. Bend it up to lower the fuel height. Down to increase it. 
Retest, readjust, until its right. Bit of a faff to do but as the carbs are off, nows the time to do it.

Forget about the seat. Nessism explained you carbs do not have removable seats. On many carbs the seat is removable and matched to the needle so should be replaced as a matched pair. 


Z1000J2 somewhat modified!

Last edit: 09 Mar 2023 01:23 by Warren3200gt.
The following user(s) said Thank You: Jimbo68

Please Log in or Create an account to join the conversation.

More
09 Mar 2023 03:59 #881272 by Jimbo68
Thanks both. 

Re: my assumption about the two hoses. Am I right, and should I do anything with the small hose other than leave it be while I test the carbs?

Blipco, I hear you and I understand. As my carb confidence grows, I feel more able to address all the problems. I will refit the carbs assuming I fix the overflow issue, very short term, then address the rust in the tank. I’ll clean the fuel filter in the petcock this time around and de-rust the tank crud when the next opportunity arises. Meantime, bus to town today

I have carb cleaner coming today so I’ll do what I can with that in the fuel bowls. 

1981 Kawasaki KZ440-A2
The following user(s) said Thank You: blipco

Please Log in or Create an account to join the conversation.

More
09 Mar 2023 04:15 - 09 Mar 2023 04:18 #881273 by TexasKZ
The larger diameter hose provides fuel to the carburetors. The smaller tube provides vacuum to operate the fuel valve (petcock). The vacuum tube is not needed for your bench tests.

The factory service manual (fsm) will be a great help.

www.kzrider.com/modules/ServiceManuals/kz440.pdf

1982 KZ1000 LTD parts donor
1981 KZ1000 LTD awaiting resurrection
2000 ZRX1100 not ridden enough

www.kzrider.com/11-projects/620336-anoth...uild-thread?start=24
Last edit: 09 Mar 2023 04:18 by TexasKZ.
The following user(s) said Thank You: Jimbo68

Please Log in or Create an account to join the conversation.

More
09 Mar 2023 04:36 #881275 by Jimbo68
Many thanks TexasKZ.

I appreciate the link, cheers. I have a paper copy of the same manual, and it is very helpful. I couldn't find a specific statement about which hose is which, so response is really helpful.

1981 Kawasaki KZ440-A2

Please Log in or Create an account to join the conversation.

More
09 Mar 2023 09:10 #881293 by Jimbo68
STP carb cleaner aerosol arrived. 

I assume it’s ok to spray the insides of my carbs to help remove the build up of rust particles? I intend to use cotton buds to reach the nooks and crannies of the internal shell, NOT the valves. I’ll then rinse with isopropyl, given I have it handy, to remove both the rust and any cotton left lingering from the buds. 
I’ll gently wash the floats using the carb spray and a toothbrush. 

can I happily spray into the valves too?

If there are better suggestions for cleaning, please holler. 

Needle float valve arrived too. I’ll fit and test after cleaning. 

1981 Kawasaki KZ440-A2
Attachments:

Please Log in or Create an account to join the conversation.

More
09 Mar 2023 11:41 - 09 Mar 2023 11:44 #881306 by blipco
The idea is to remove all rubber parts including the slides with their diaphragms from the carburetors before spraying the carb cleaner as the cleaner can damage those parts. I don’t suppose you have a set of Japanese DIN screwdrivers?
Anyway, cleaning carbs isn’t that bad but the first time can be a little intimidating. There’s scores of vids on YouTube on the topic. Some good, some bad. 
I do mine in a disposable aluminum baking pan (the rectangle ones made of heavy foil) because it catches the little parts that try to escape.

These type of pans.
 

"Swim against the current, even a dead fish can go with the flow"-somebody (I forget Who)
Last edit: 09 Mar 2023 11:44 by blipco.
The following user(s) said Thank You: Jimbo68

Please Log in or Create an account to join the conversation.

More
09 Mar 2023 12:16 #881308 by Jimbo68
Thanks blipco. 

I wish I’d realised the risk to rubber before starting. Drat! I sprayed the bowl rubber seals.

the tang is driving me nuts. I cannot bend it without compromising the rest of the assembly. See the circles in the attached. The green length bends as I bend the tang. I have a small vice but nothing prevents compromising the level of the plane twixt hinge and the rest of the assembly. The result is the “stop”, circled in red being taken closer to the body of the bowl. 

I have no idea now how to restore the float assembly integrity 


1981 Kawasaki KZ440-A2

Please Log in or Create an account to join the conversation.

More
09 Mar 2023 12:31 - 09 Mar 2023 12:37 #881309 by Warren3200gt
The tang circled in red is the float drop stop and should be approx 90 deg to the float plate. It stops them dropping to the bottom of the bowl allowing the needle to drop so far that it won't then slide back in straight as the floats lift due to fuel entering. If this happenens the floats get artificially stuck down and the carb overflows. 
The needle tang is best adjusted with the floats taken off the carb. 
Lightly grip the float hinge barrel from the back with flat nose pliers. You can the just rotate the whole float assembly in the desired direction which will then bend the tang against the pliers nose keeping the tang straight to the float hinge
Taking the floats out is simple as I'm sure youve found, just slide the pin out. 


Z1000J2 somewhat modified!

Last edit: 09 Mar 2023 12:37 by Warren3200gt.
The following user(s) said Thank You: Jimbo68

Please Log in or Create an account to join the conversation.

Powered by Kunena Forum

If you like KZR Please consider making a donation. Thank you.

KZRider is free, but not without cost.

Please consider chipping in a few bucks to help cover the cost of running the KZR servers.