
1981 KZ750 LTD four questions
- JR
-

- Offline
- Sustaining Member
- Posts: 2940
- Thanks: 453
Re: 1981 KZ750 LTD four questions
10 Jun 2024 10:09
Valves first.
synch last
synch last
1980 kz750E1, Delkevic exhaust
The following user(s) said Thank You: bluejacobs
Please Log in or Create an account to join the conversation.
- Nessism
-

- Offline
- Sustaining Member
- Posts: 7558
- Thanks: 2917
Re: 1981 KZ750 LTD four questions
10 Jun 2024 10:17
Bubbles in the clear tubes can be a problem, since it gives false readings. Most of the time, you can lift up the tube as much as possible, and tap the tube with air, and the bubble will start to work its way out. I've also blown into the tube, which pushes the entire column back into the carb, then when the passage refills, the bubble will be gone (hopefully)
Ed
Carb O-ring Kits : www.kzrider.com/forum/3-carburetor/61807...-o-ring-kits?start=0
www.kzrider.com/forum/faq-wiki/618026-new-owner-things-to-know
1981 KZ750E2
www.kzrider.com/forum/11-projects/604901...z750e-project-thread
Carb O-ring Kits : www.kzrider.com/forum/3-carburetor/61807...-o-ring-kits?start=0
www.kzrider.com/forum/faq-wiki/618026-new-owner-things-to-know
1981 KZ750E2
www.kzrider.com/forum/11-projects/604901...z750e-project-thread
Please Log in or Create an account to join the conversation.
- bluejacobs
-
 Topic Author
- Offline
- User
- Posts: 68
- Thanks: 5
Re: 1981 KZ750 LTD four questions
10 Jun 2024 10:32
Yeah that's what I was doing - fiddling with the tube to get the bubbles to go this way or that. Feeling pretty confident about the results I got then, anyways but will probably just check the again for sake of thoroughness. New carb holders ordered as #1 is just developing a crack and when hit with carb cleaner it just barely blipped the RPMs, but blip it did do... hoping that's the only leak. Any tips for getting the old holders off / installing the new ones? Just make sure everything is nice and clean on the mating surface?
What about for checking valves? Never done that on this bike. FSM says you can reuse that gasket but then again....
What about for checking valves? Never done that on this bike. FSM says you can reuse that gasket but then again....
1981 Kawasaki KZ750 LTD - running strong but undergoing cosmetic surgery after a crash 4/15/24
1980 KZ750 - 7k on the clock been sitting 30 years - possible donor for 1981
1981 KZ440 A - was running until the end of 2022, sitting in a barn for now
1981 KZ440A - donor bike
1980 KZ750 - 7k on the clock been sitting 30 years - possible donor for 1981
1981 KZ440 A - was running until the end of 2022, sitting in a barn for now
1981 KZ440A - donor bike
Please Log in or Create an account to join the conversation.
- Nessism
-
- Offline
- Sustaining Member
- Posts: 7558
- Thanks: 2917
Re: 1981 KZ750 LTD four questions
10 Jun 2024 11:36What about for checking valves? Never done that on this bike. FSM says you can reuse that gasket but then again....
The gasket commonly tears when removing the valve cover. I recommend an OEM gasket, not aftermarket.
The below is a cut and past from an older post regarding valve adjustment.
The factory manual details how to position the cams before measuring, but in my opinion, it's not the best method. For one thing, you need to fuss around with looking at the timing marks, which are easy to miss or overshoot when rotating the engine. The below method is much easier to execute and provides more consistent measurements.
This is THE BEST method to adjust the valves (my opinion). It's the method in the factory manual for the later year big KZ's, and the GS Suzuki's, the engine of which is very similar to the KZ's only, arguably, more durable.
This method is dead easy to remember, and you don't need to look at the T and F marks on the timing plate.
1) Rotate engine until #1 exhaust cam lobe is pointing forward, parallel to the gasket surface, then measure #1 & #2 exhaust valves.
2) Rotate engine until #4 exhaust cam lobe is pointing forward.........................................................................#4 & #3 exhaust valves.
3) Rotate engine until #1 intake cam lobe is pointing straight up, perpendicular to the gasket surface, then measure #1 & #2 intake valves.
4) Rotate engine until #4 exhaust cam lobe is pointing straight up................................................................................#4 $ #3 intake valves.
Lastly, relalize that you must remove the spring from the cam chain tensioner before you put the valve cover back on. Failing to do this will over tension the chain because there is a rub block in the valve cover.
Ed
Carb O-ring Kits : www.kzrider.com/forum/3-carburetor/61807...-o-ring-kits?start=0
www.kzrider.com/forum/faq-wiki/618026-new-owner-things-to-know
1981 KZ750E2
www.kzrider.com/forum/11-projects/604901...z750e-project-thread
Carb O-ring Kits : www.kzrider.com/forum/3-carburetor/61807...-o-ring-kits?start=0
www.kzrider.com/forum/faq-wiki/618026-new-owner-things-to-know
1981 KZ750E2
www.kzrider.com/forum/11-projects/604901...z750e-project-thread
The following user(s) said Thank You: martin_csr, bluejacobs
Please Log in or Create an account to join the conversation.
- bluejacobs
-
Topic Author
- Offline
- User
- Posts: 68
- Thanks: 5
Re: 1981 KZ750 LTD four questions
14 Jun 2024 03:51
This thing is giving me shades of the same year 440 LTD I was attempting to get moving for my buddy back in 2020... where getting at one issue, inevitably raises another. So the carb holders were all developing surface cracks where the collar meets the flange, nothing through but as stated, was getting some blips when sprayed with carb cleaner while running. New boots came in and last night after work decided to just take the old ones off. Quick spritz of PB blaster on all 8 screws let it sit 15 minutes or so and against my better judgement, got the correct bit and my right angle driver and the first head immediately snapped off. Cue me cursing myself for not being patient enough to let the PB do its work, and not using heat, and not using my 1/4" impact, and not taking the airbox out of the way to get the correct tool in the space to do the damn job... 6/8 came out liberally applying more PB and heat, two studs remain, both on the upper outer bores (1 and 4) so at least they're accessible.
The first time I dealt with this was a fiasco, but at least this time I've got more appropriate tools and experience than I did on that 440... There's about an 1/8th inch stub on each one... debating if I want to try slotting them / KROIL / Heat and impact first, or alternatively try to get a good pair of vice grips on them ... I will not even attempt anEasy-Out, welding isn't an option, and a LH drill bit is what bit me last time when it also snapped off in the screw. I've also seen some of the posts about using an alum slurry and a little heat overnight to dissolve the screw which the scientist in me loves but I think I want to hold that as a second to last option.
Any thoughts, advice or opinions / options to consider?
The first time I dealt with this was a fiasco, but at least this time I've got more appropriate tools and experience than I did on that 440... There's about an 1/8th inch stub on each one... debating if I want to try slotting them / KROIL / Heat and impact first, or alternatively try to get a good pair of vice grips on them ... I will not even attempt an
Any thoughts, advice or opinions / options to consider?
1981 Kawasaki KZ750 LTD - running strong but undergoing cosmetic surgery after a crash 4/15/24
1980 KZ750 - 7k on the clock been sitting 30 years - possible donor for 1981
1981 KZ440 A - was running until the end of 2022, sitting in a barn for now
1981 KZ440A - donor bike
1980 KZ750 - 7k on the clock been sitting 30 years - possible donor for 1981
1981 KZ440 A - was running until the end of 2022, sitting in a barn for now
1981 KZ440A - donor bike
Please Log in or Create an account to join the conversation.
- F64
-

- Offline
- User
- 81-KZ440D2
- Posts: 1122
- Thanks: 404
Re: 1981 KZ750 LTD four questions
14 Jun 2024 09:43
If you pull the head, you can find a machine shop that has an EDM machine.
www.motortrend.com/how-to/hot-rod-to-the...-mustang-broken-tap/
www.motortrend.com/how-to/hot-rod-to-the...-mustang-broken-tap/
81-KZ440-D2.
Louis Dudzik's GM HEI ignitor conversion installed 2015 s3.amazonaws.com/gpzweb/Ignition/GPZgmHEImod.html
Motogadget m-unit blue installed 2017.
LIC, NY
Louis Dudzik's GM HEI ignitor conversion installed 2015 s3.amazonaws.com/gpzweb/Ignition/GPZgmHEImod.html
Motogadget m-unit blue installed 2017.
LIC, NY
The following user(s) said Thank You: Wookie58
Please Log in or Create an account to join the conversation.
- Nessism
-
- Offline
- Sustaining Member
- Posts: 7558
- Thanks: 2917
Re: 1981 KZ750 LTD four questions
14 Jun 2024 11:13
Putting a nut over the nub, and then MIG welding is the tried and true method. The welding heat loosens the bond.
Ed
Carb O-ring Kits : www.kzrider.com/forum/3-carburetor/61807...-o-ring-kits?start=0
www.kzrider.com/forum/faq-wiki/618026-new-owner-things-to-know
1981 KZ750E2
www.kzrider.com/forum/11-projects/604901...z750e-project-thread
Carb O-ring Kits : www.kzrider.com/forum/3-carburetor/61807...-o-ring-kits?start=0
www.kzrider.com/forum/faq-wiki/618026-new-owner-things-to-know
1981 KZ750E2
www.kzrider.com/forum/11-projects/604901...z750e-project-thread
Please Log in or Create an account to join the conversation.
- bluejacobs
-
Topic Author
- Offline
- User
- Posts: 68
- Thanks: 5
Re: 1981 KZ750 LTD four questions
15 Jun 2024 12:08
Got myself a welder and granted it's been a minute but that for sure did not work. Used every but I had lying around and did manage to get a few threads out but it ended up snapping off again every time. Didn't even attempt the other side
1981 Kawasaki KZ750 LTD - running strong but undergoing cosmetic surgery after a crash 4/15/24
1980 KZ750 - 7k on the clock been sitting 30 years - possible donor for 1981
1981 KZ440 A - was running until the end of 2022, sitting in a barn for now
1981 KZ440A - donor bike
1980 KZ750 - 7k on the clock been sitting 30 years - possible donor for 1981
1981 KZ440 A - was running until the end of 2022, sitting in a barn for now
1981 KZ440A - donor bike
Please Log in or Create an account to join the conversation.
- bluejacobs
-
Topic Author
- Offline
- User
- Posts: 68
- Thanks: 5
Re: 1981 KZ750 LTD four questions
22 Jun 2024 12:42
SUCCESS! After a lot of tries with the welder, I gave up on that route (yay, I now own a welder I guess?). All this past week I used a tip from this thread from user: steell
www.kzrider.com/forum/2-engine/213898-ho...en-bit-inside#214141
And made little play-doh boats around my two studs and used KROIL penetrant several times a day for a week. I then used these screw extractors and some heat, figuring the impact would be sufficient to break things loose, but no joy. They fortunately didn't break, they just stripped more steel away from the bolt.
www.harborfreight.com/impact-rated-screw...t-3-piece-57938.html <<<< BOOOOOO
Moved on to an idea I got from this video:
Using a set of spring loaded hinge drill bits to make sure I was absolutely centered, since both my bolts were now sheared about 6mm into their bores.
www.harborfreight.com/hinge-drill-bit-set-3-piece-61550.html
I got a pilot started with the 7/64" from this set, checked it was centered and then once I was all the way through the bolt, moved up to the 9/64" until through. Beyond that I used my LH set, since they were brand new and sharp, going up one step at a time up to 3/16" at which point things were looking very nice, and the threads were just visible inside the bore.
From there, I simply used a regular carbon steel tap m6x1.0 and slowly cleared the remnants of the old bolt from the original threads using a bit of oil and occasionally blowing the hole out with the air gun. Each took less than a half an hour using this process start to finish. Cleaned up all the other holes, and we're back on track baby!
Time for a beer!
1981 Kawasaki KZ750 LTD - running strong but undergoing cosmetic surgery after a crash 4/15/24
1980 KZ750 - 7k on the clock been sitting 30 years - possible donor for 1981
1981 KZ440 A - was running until the end of 2022, sitting in a barn for now
1981 KZ440A - donor bike
1980 KZ750 - 7k on the clock been sitting 30 years - possible donor for 1981
1981 KZ440 A - was running until the end of 2022, sitting in a barn for now
1981 KZ440A - donor bike
The following user(s) said Thank You: Nessism, sf4t7, Wookie58
Please Log in or Create an account to join the conversation.
- bluejacobs
-
Topic Author
- Offline
- User
- Posts: 68
- Thanks: 5
Re: 1981 KZ750 LTD four questions
01 Jul 2024 03:23
So, replacement carb holders turned out to be junk - huge gaps between them and the intake. Despite some small cracks in the innermost bores of the original carb holders, I opted to reinstall them, using Permatex 85420, Hylomar blue equivalent. Put a small bead on the rubbers, and a very thin film on the intake side. Torqued everything down and retorqued after 10 minutes with new Allen socket head bolts and let it sit for around an hour. Cleared the little bit of permatex that squeezed into the bore on 2 cylinders until no more showed on a white rag. Checked the other two but they were totally dry. Reassembled everything - thanks to whoever it was that said something about rolling the airbox boots down on themselves - this saved me a considerable amount of frustration in the reassembly, and allowed me to slip the carbs in without unseating the boots from the airbox. I'll never not do that from now on.
Went to fire up, and battery was low, so hooked up the charger and swapped in new NGK B8ES plugs gapped to .028 inches, torqued to 20ft-lbs. Fired right up and sounded relatively happy. Hanging idle appears to be gone, as does the racing from lean condition confirmed by a bench leveled clear tube test. All bowls were set to 4.0mm +/- 1mm from the bottom of the carb body.
Now here's the interesting bit - the day prior when running #2 was firing but checking the headers, was not nearly as warm as the other three...on this startup, while warming up, #3 was significantly cooler... Took it for a ride and everything seemed to be behaving normally. Nothing seemed / smelled hot or unusual. Checked temps of pipes with IR thermometer, and all 4 were within 15 degrees of one another, with 2/3 being about 10 degrees warmer but within 5 degrees of each other. Stumped. Anything to look at? Confirm spark?
Heres two clips running in the garage before the ride. Anything sound off? There's a sharper ticking I hear but I don't know if that's normal or not for these bikes.
www.youtube.com/shorts/8IMhCSu7RPY
1981 Kawasaki KZ750 LTD - running strong but undergoing cosmetic surgery after a crash 4/15/24
1980 KZ750 - 7k on the clock been sitting 30 years - possible donor for 1981
1981 KZ440 A - was running until the end of 2022, sitting in a barn for now
1981 KZ440A - donor bike
1980 KZ750 - 7k on the clock been sitting 30 years - possible donor for 1981
1981 KZ440 A - was running until the end of 2022, sitting in a barn for now
1981 KZ440A - donor bike
Please Log in or Create an account to join the conversation.
- bluejacobs
-
Topic Author
- Offline
- User
- Posts: 68
- Thanks: 5
Re: 1981 KZ750 LTD four questions
08 Jul 2024 12:21
Anyone have a chance to give these a listen? Was able to get the bike out for a few miles over the holiday weekend and it seemed to run fine, but kept spontaneously having cylinder 3 / header cooler than the other 3 while warming up. Checked resistance at the coils and it was good, getting spark on all 4 wires, checked the IC igniter connections, checked the timing advancer, removed and relubed it.... Even with the recent permatex sealant I do have the tiniest leak that seems to come and go on cyl 3 when checking by spraying carb cleaner... but even that seems to come and go. Anything else to look at that I'm missing? Valves have yet to be checked/done if necessary but I'd really rather wait on that til the off season if possible.
1981 Kawasaki KZ750 LTD - running strong but undergoing cosmetic surgery after a crash 4/15/24
1980 KZ750 - 7k on the clock been sitting 30 years - possible donor for 1981
1981 KZ440 A - was running until the end of 2022, sitting in a barn for now
1981 KZ440A - donor bike
1980 KZ750 - 7k on the clock been sitting 30 years - possible donor for 1981
1981 KZ440 A - was running until the end of 2022, sitting in a barn for now
1981 KZ440A - donor bike
Please Log in or Create an account to join the conversation.
- Scirocco
-

- Offline
- Premium Member
- Never change a running system
- Posts: 4326
- Thanks: 2171
Re: 1981 KZ750 LTD four questions
08 Jul 2024 13:33 - 08 Jul 2024 13:47
The engine sounds good and need only a good carb sync.
Sounds like three cyl. pushing/pulling the one cooler cyl. in question.
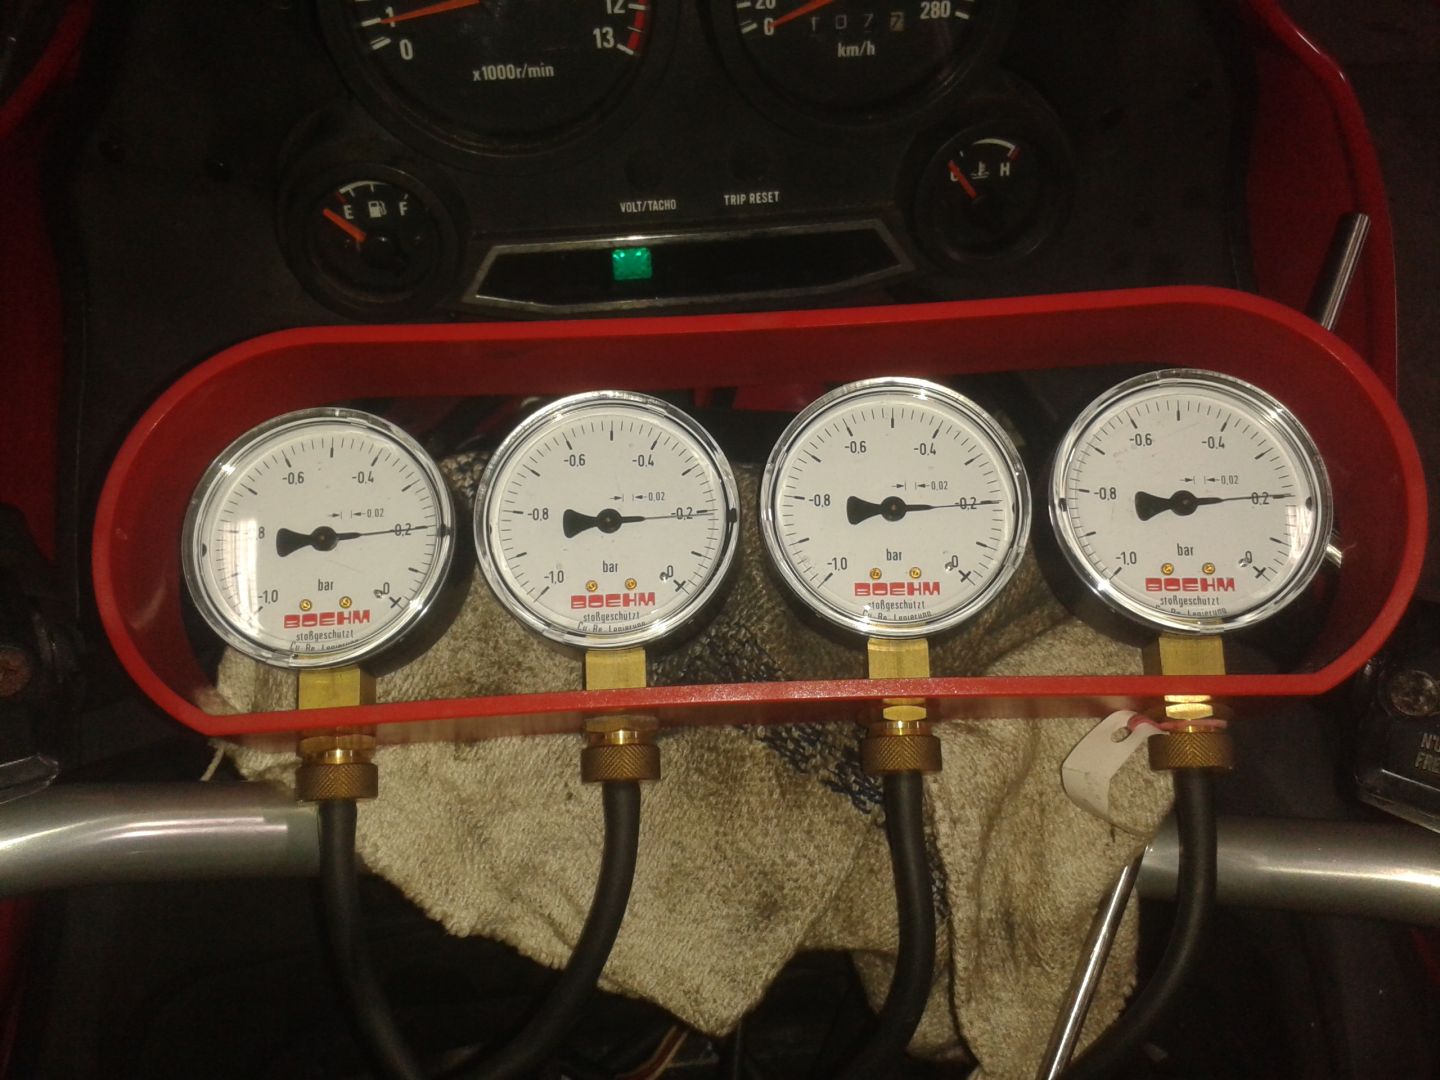
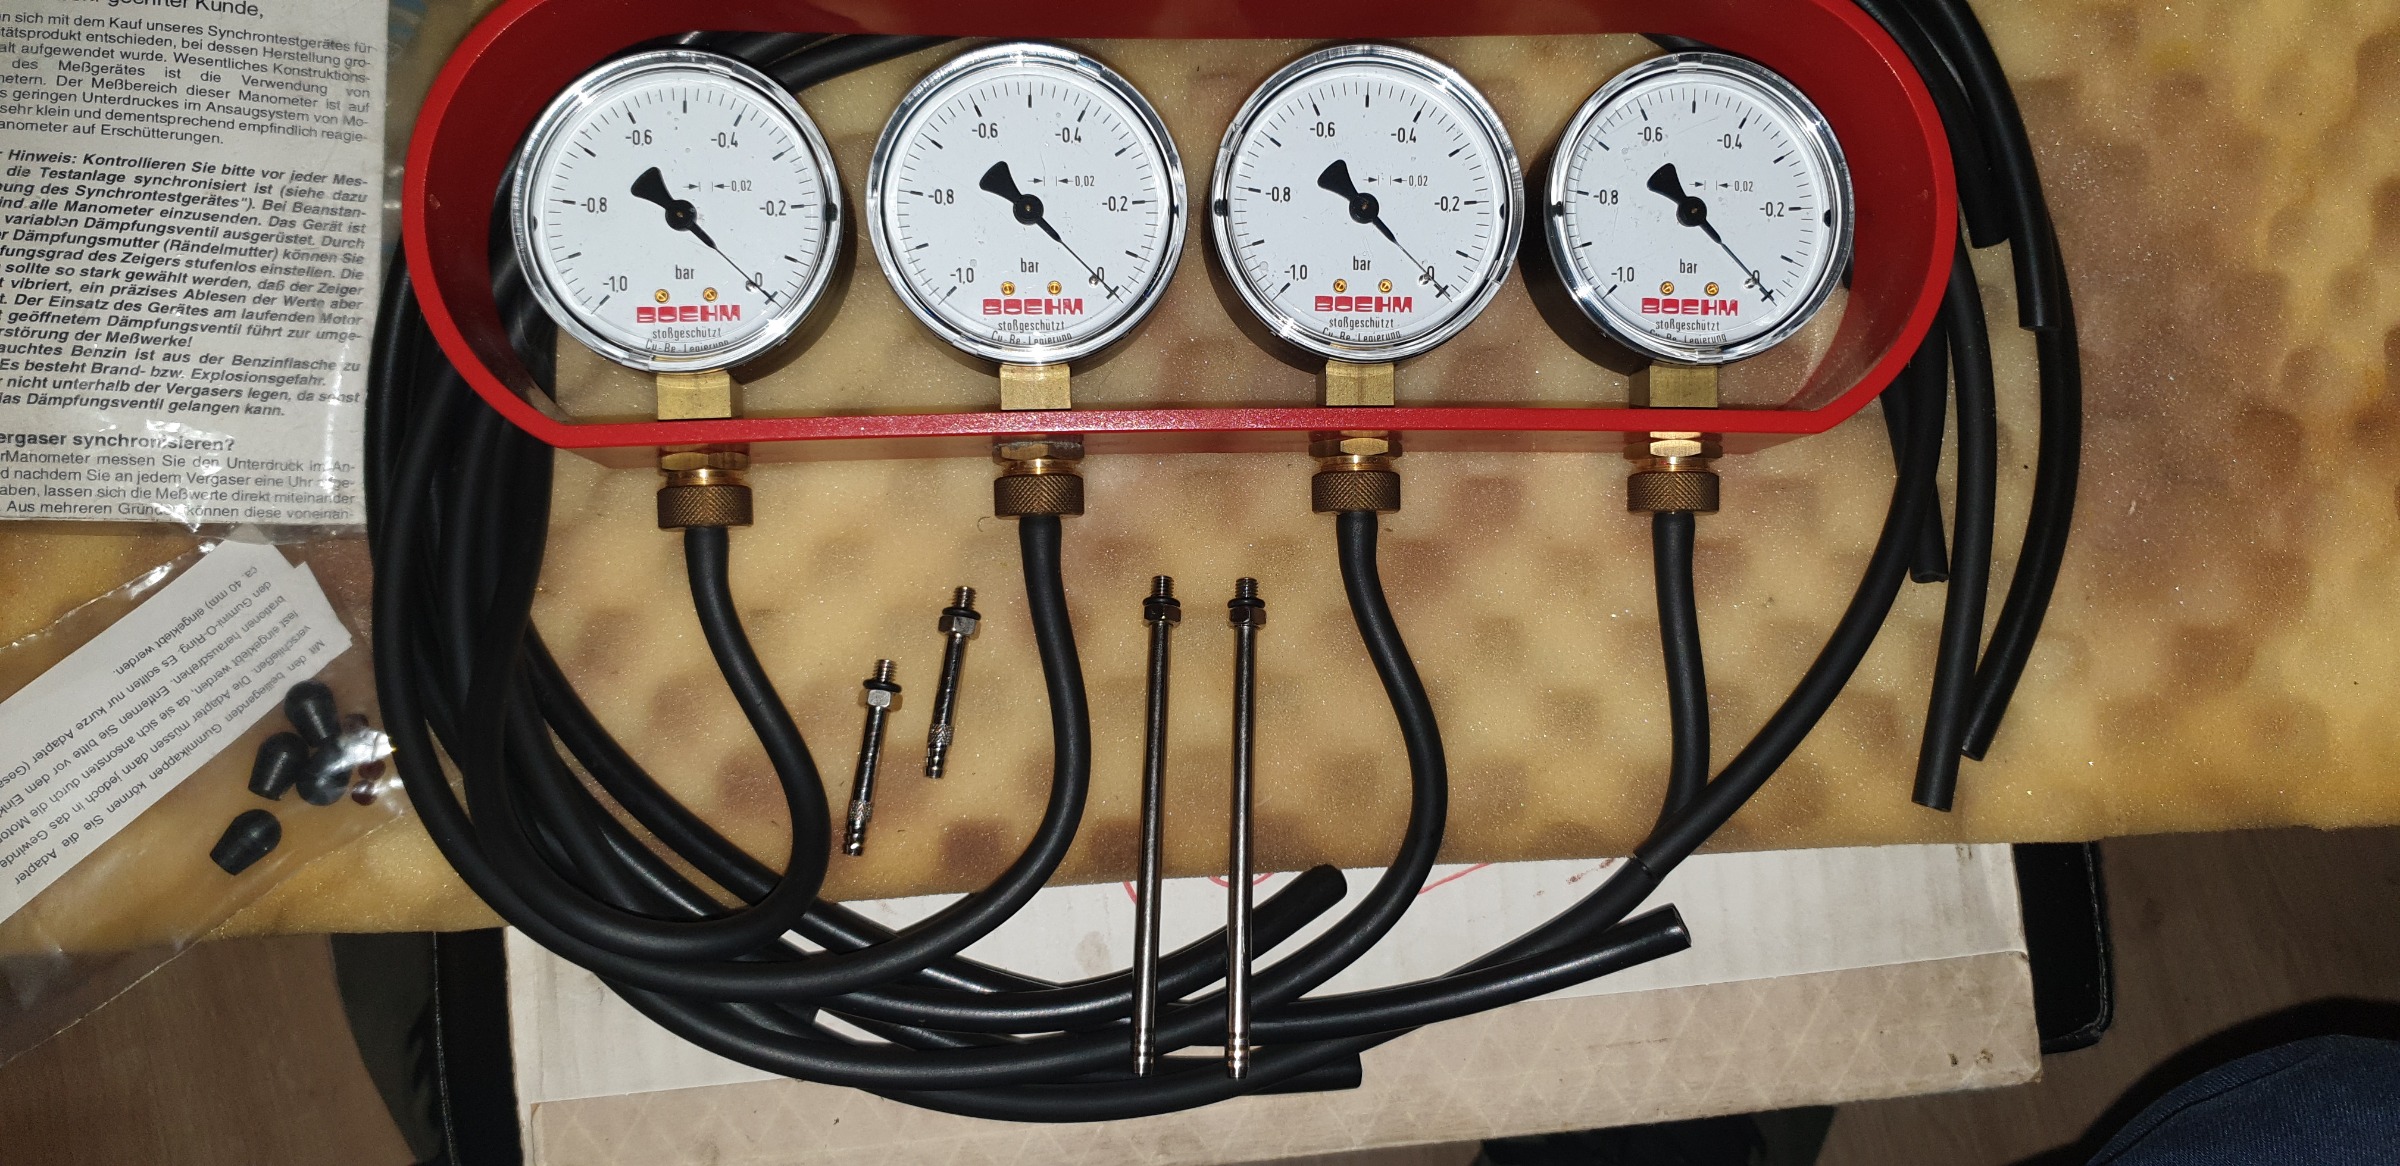
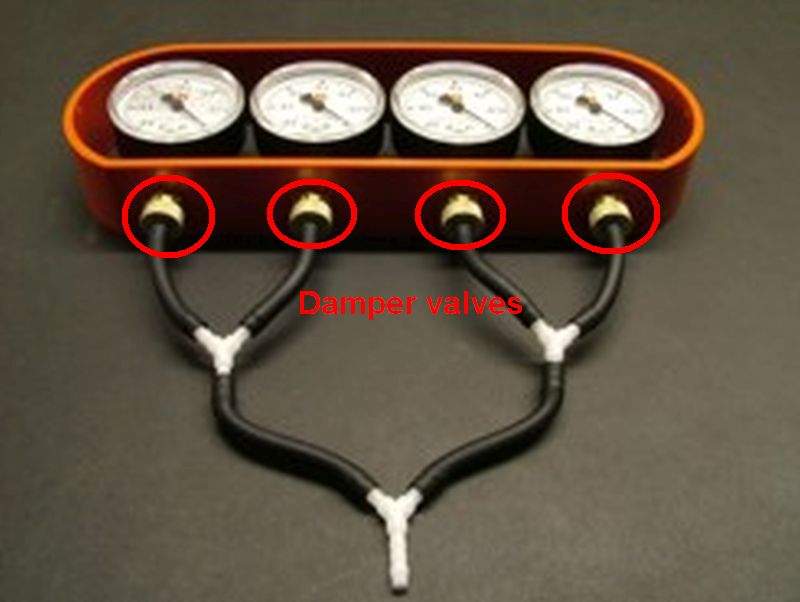
Don´t use the cheap chinise carb sync gauges, they are junk without an adjustable damper valve, so you can
adjust any single gauge if needed to the same equal vaccum reference.
Sounds like three cyl. pushing/pulling the one cooler cyl. in question.
Don´t use the cheap chinise carb sync gauges, they are junk without an adjustable damper valve, so you can
adjust any single gauge if needed to the same equal vaccum reference.
My 1975 Z 1 B 900 Project
www.kzrider.com/forum/11-projects/605133...ears-deep-sleep-mode
www.kzrider.com/forum/11-projects/605133...ears-deep-sleep-mode
Last edit: 08 Jul 2024 13:47 by Scirocco.
Please Log in or Create an account to join the conversation.